Routes
Routes let you group trips together and keep daily workload under control. For each route, you define a capacity and a maximum number of orders per day, so you avoid overloading a technician and optimize travel.
When to use routes
Section titled “When to use routes”Use routes to frame the daily workload and group interventions by geographic area. It is the ideal tool when you want to distribute service orders fairly, reduce the distance traveled, and ensure a realistic schedule for each team.
Create a route
Section titled “Create a route”- Open the Routes area from the management interface, then click New.
- Enter the Route name (for example “North Route” or “Downtown Sector”).
- Select the Person or Technician assigned to the route, if it is dedicated to a specific team.
- Set the route’s Capacity based on the workload the team can handle.
- Define the Maximum number of orders per day to limit the daily workload.
- Click Save.
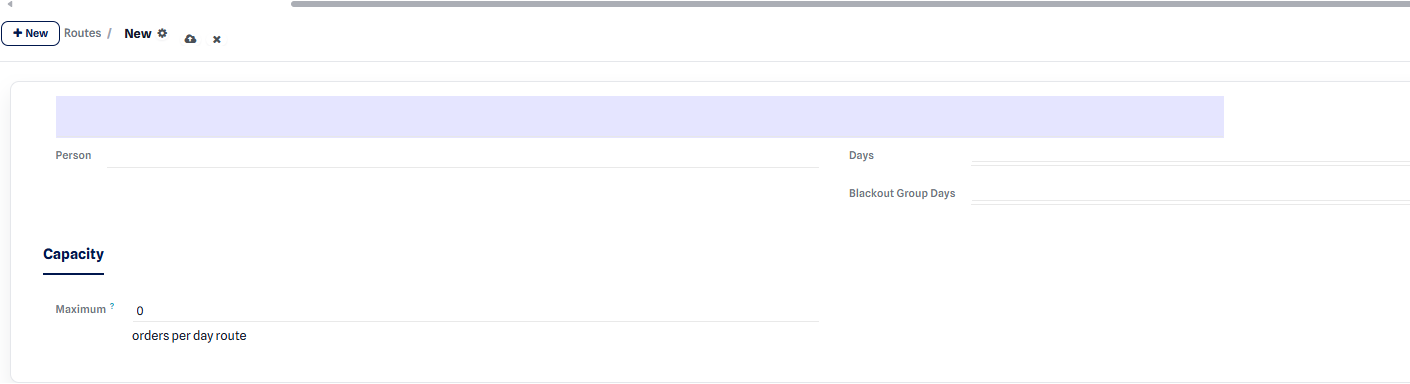 Route form: name, technician, capacity, and maximum number of orders per day.
Expected result: the route is saved and becomes available in the planning view. The capacity and per-day order limits apply automatically when service orders are assigned.
View a route in the planning
Section titled “View a route in the planning”Once created, the route appears in the planning view, where you can drag and drop service orders and track how each day fills up.
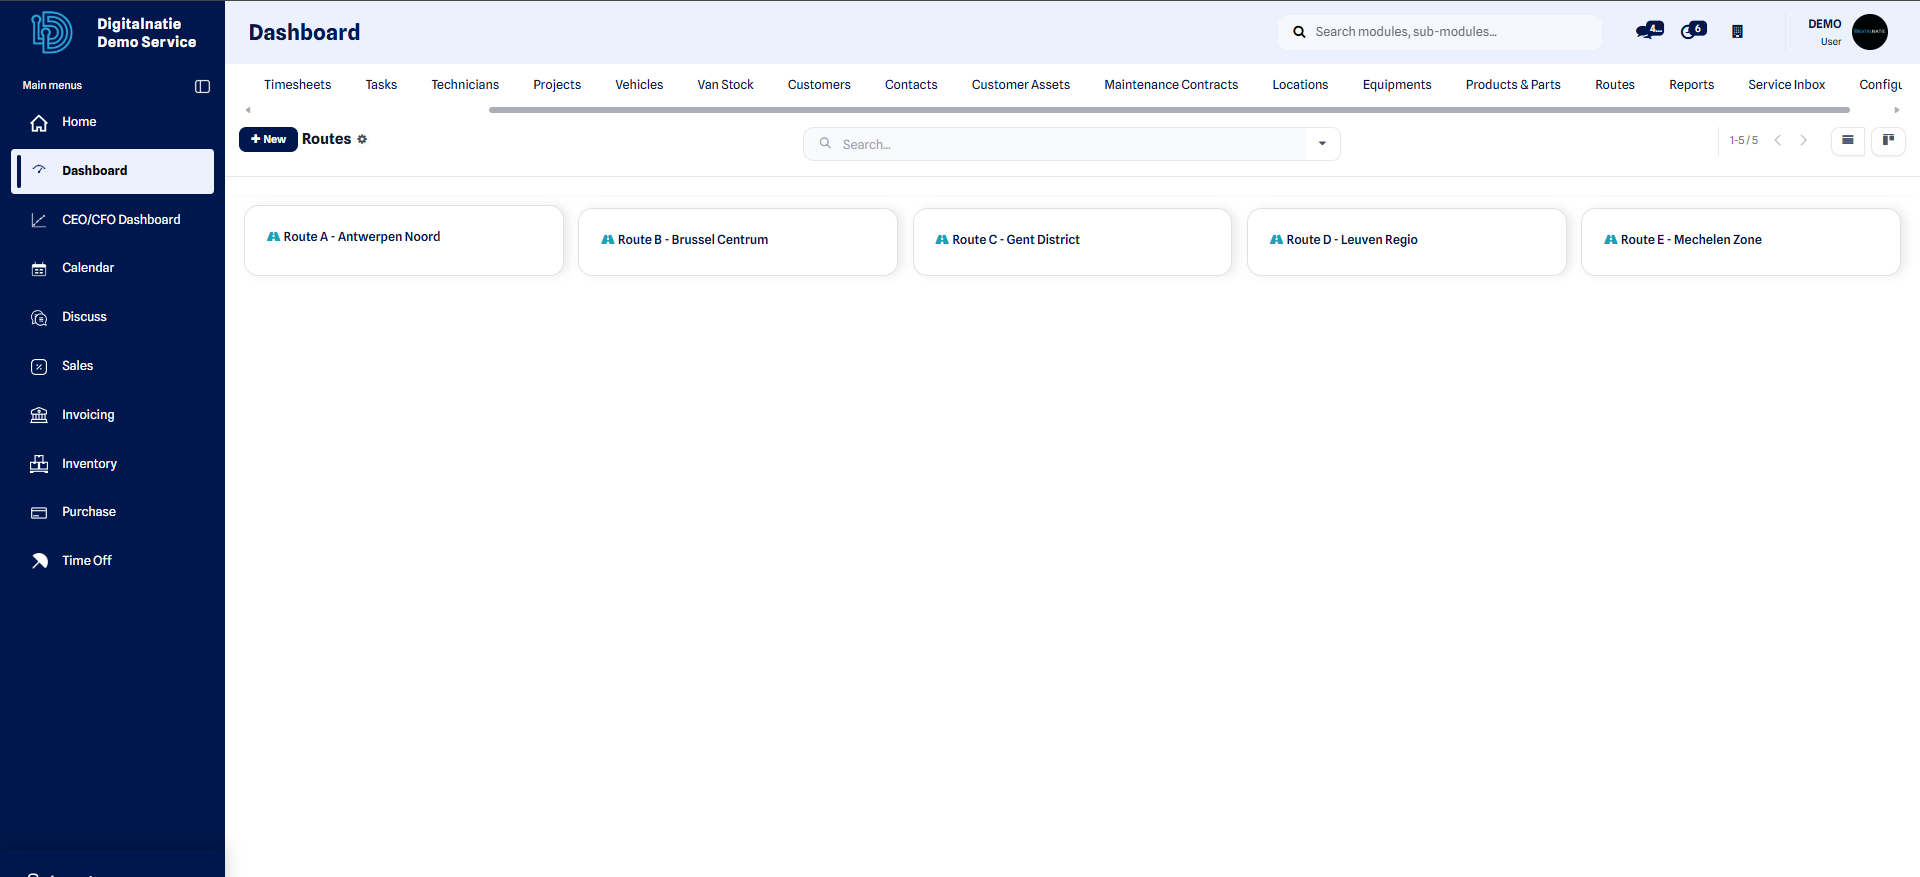 Tracking a route and its orders directly in the planning view.
For daily planning and assigning interventions, see the Planning page.
Optimize the visit order
Section titled “Optimize the visit order”The route optimizer automatically suggests the ideal visit order to reduce the distance traveled and travel time. You get a more logical sequence of interventions in the field, with no manual calculation.
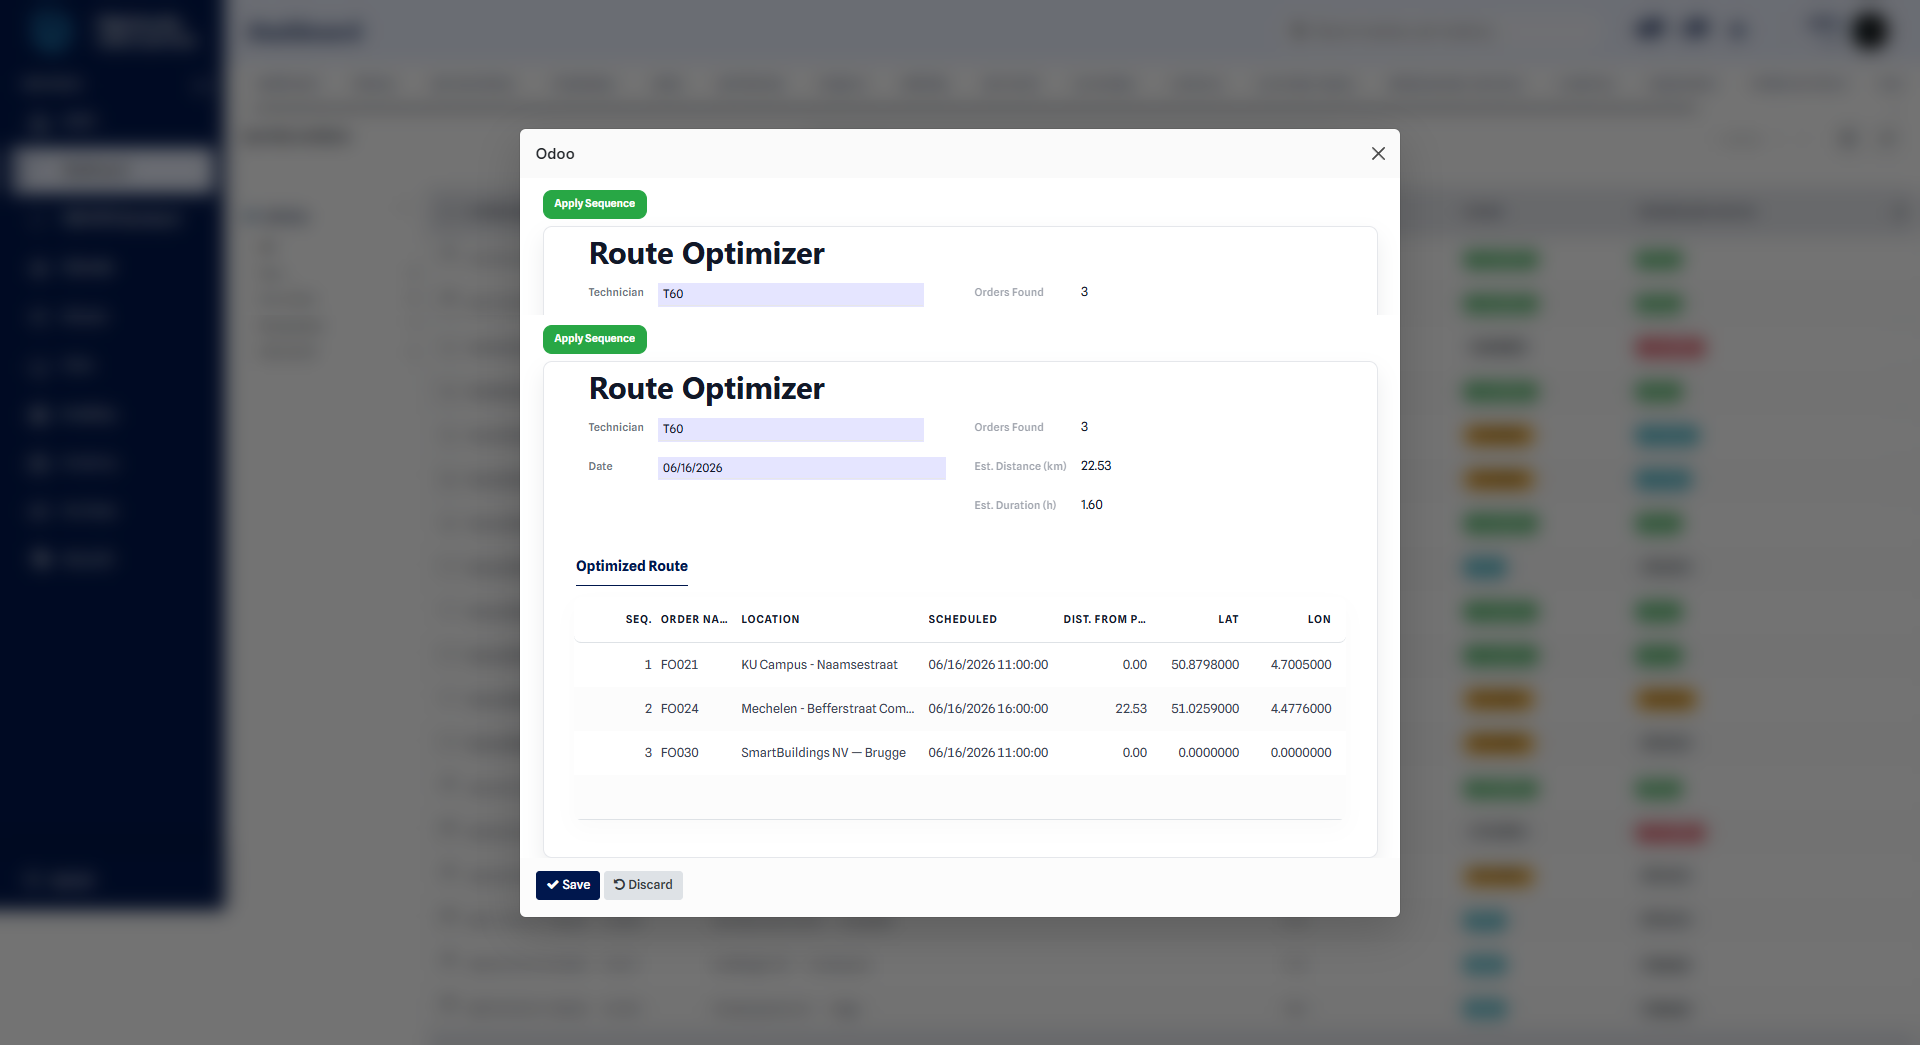 The optimizer reorders the visits to minimize travel.