Vendor Bills
A vendor bill is the document you receive from a vendor after placing an order. By recording it, you keep an accurate record of your expenses and link each purchase to its original order, giving you a clear view of what you owe and what you have already paid.
When to use it: as soon as a vendor sends you their invoice following an order placed through Purchases, so you can check the amounts and record the expense.
Create a vendor bill
Section titled “Create a vendor bill”This procedure records the invoice received from the vendor and links it to the ordered products or services.
- Create a vendor bill by clicking New.
- Select the relevant Vendor.
- Enter the invoice date shown on the document you received.
- Add the products / services billed, along with the corresponding amounts.
- Click Confirm to validate the invoice.
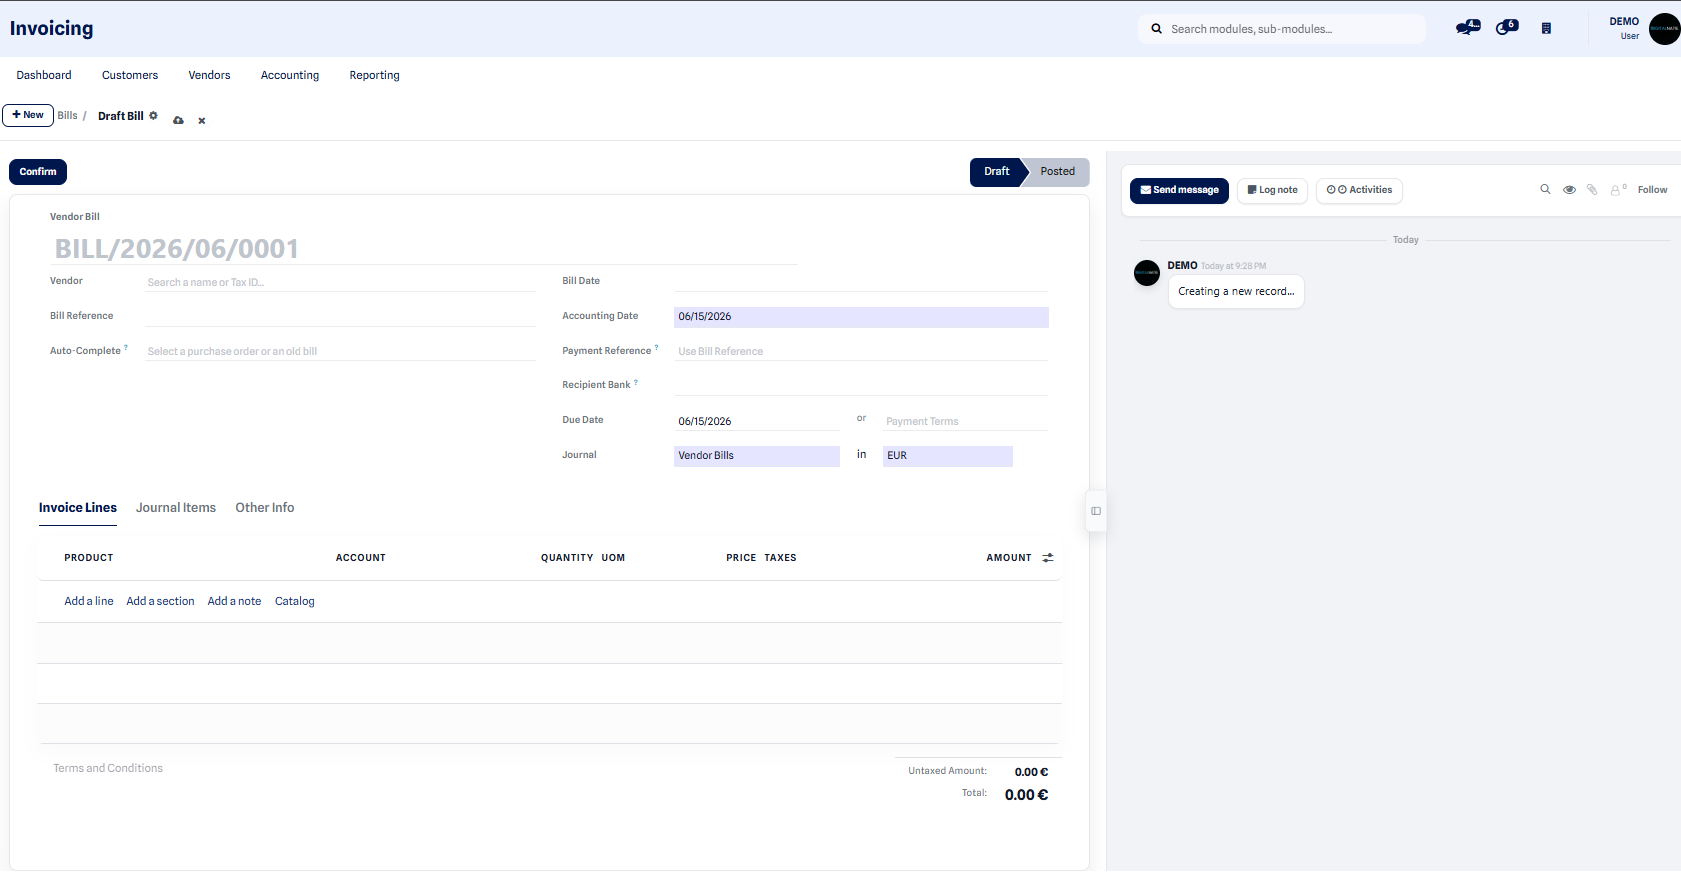 The vendor bill form shows the vendor, the date and the lines of billed products.
Result: the invoice moves from draft to confirmed. The expense is recorded and added to your purchase tracking, ready to be paid and then marked as paid.
Vendor credit note
Section titled “Vendor credit note”If a vendor grants you a refund or you return products to them, you create a vendor credit note. The credit note cancels, in full or in part, a vendor bill that has already been recorded and adjusts the expense amount accordingly.
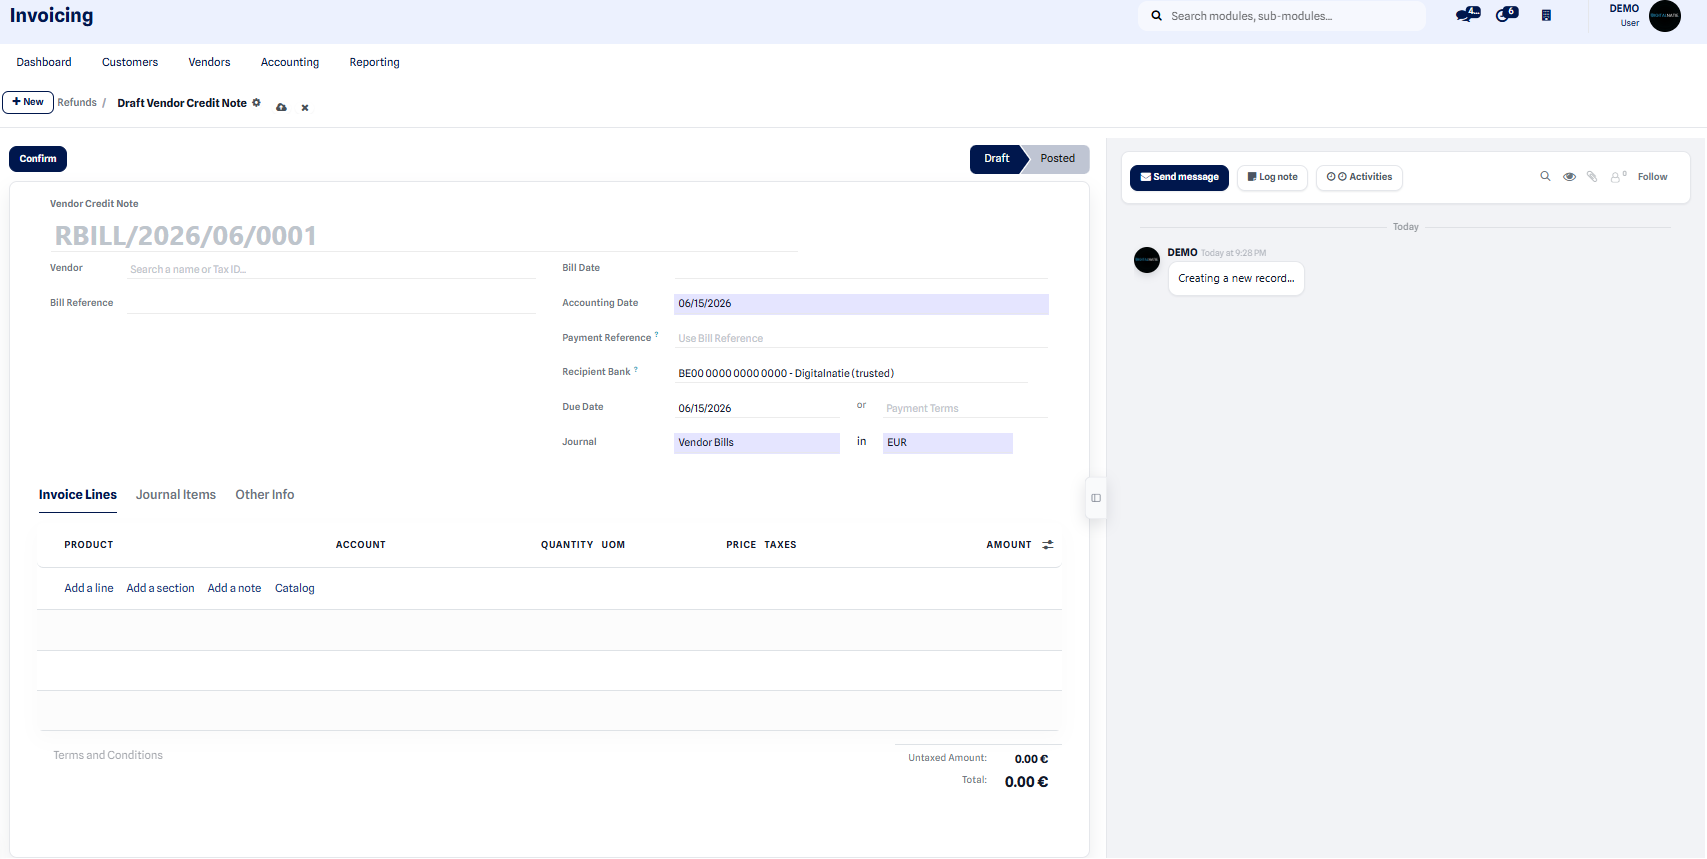 From the vendor bill, the option lets you generate a linked credit note, for a refund or a return.
Result: the credit note is linked to the original invoice and reduces the balance due to the vendor, which keeps your expenses up to date.