

Configure your Service Suite
After onboarding you manage your own environment from one place: Configuration, at the bottom of the left-hand menu. This page walks through those settings in the order that works best.
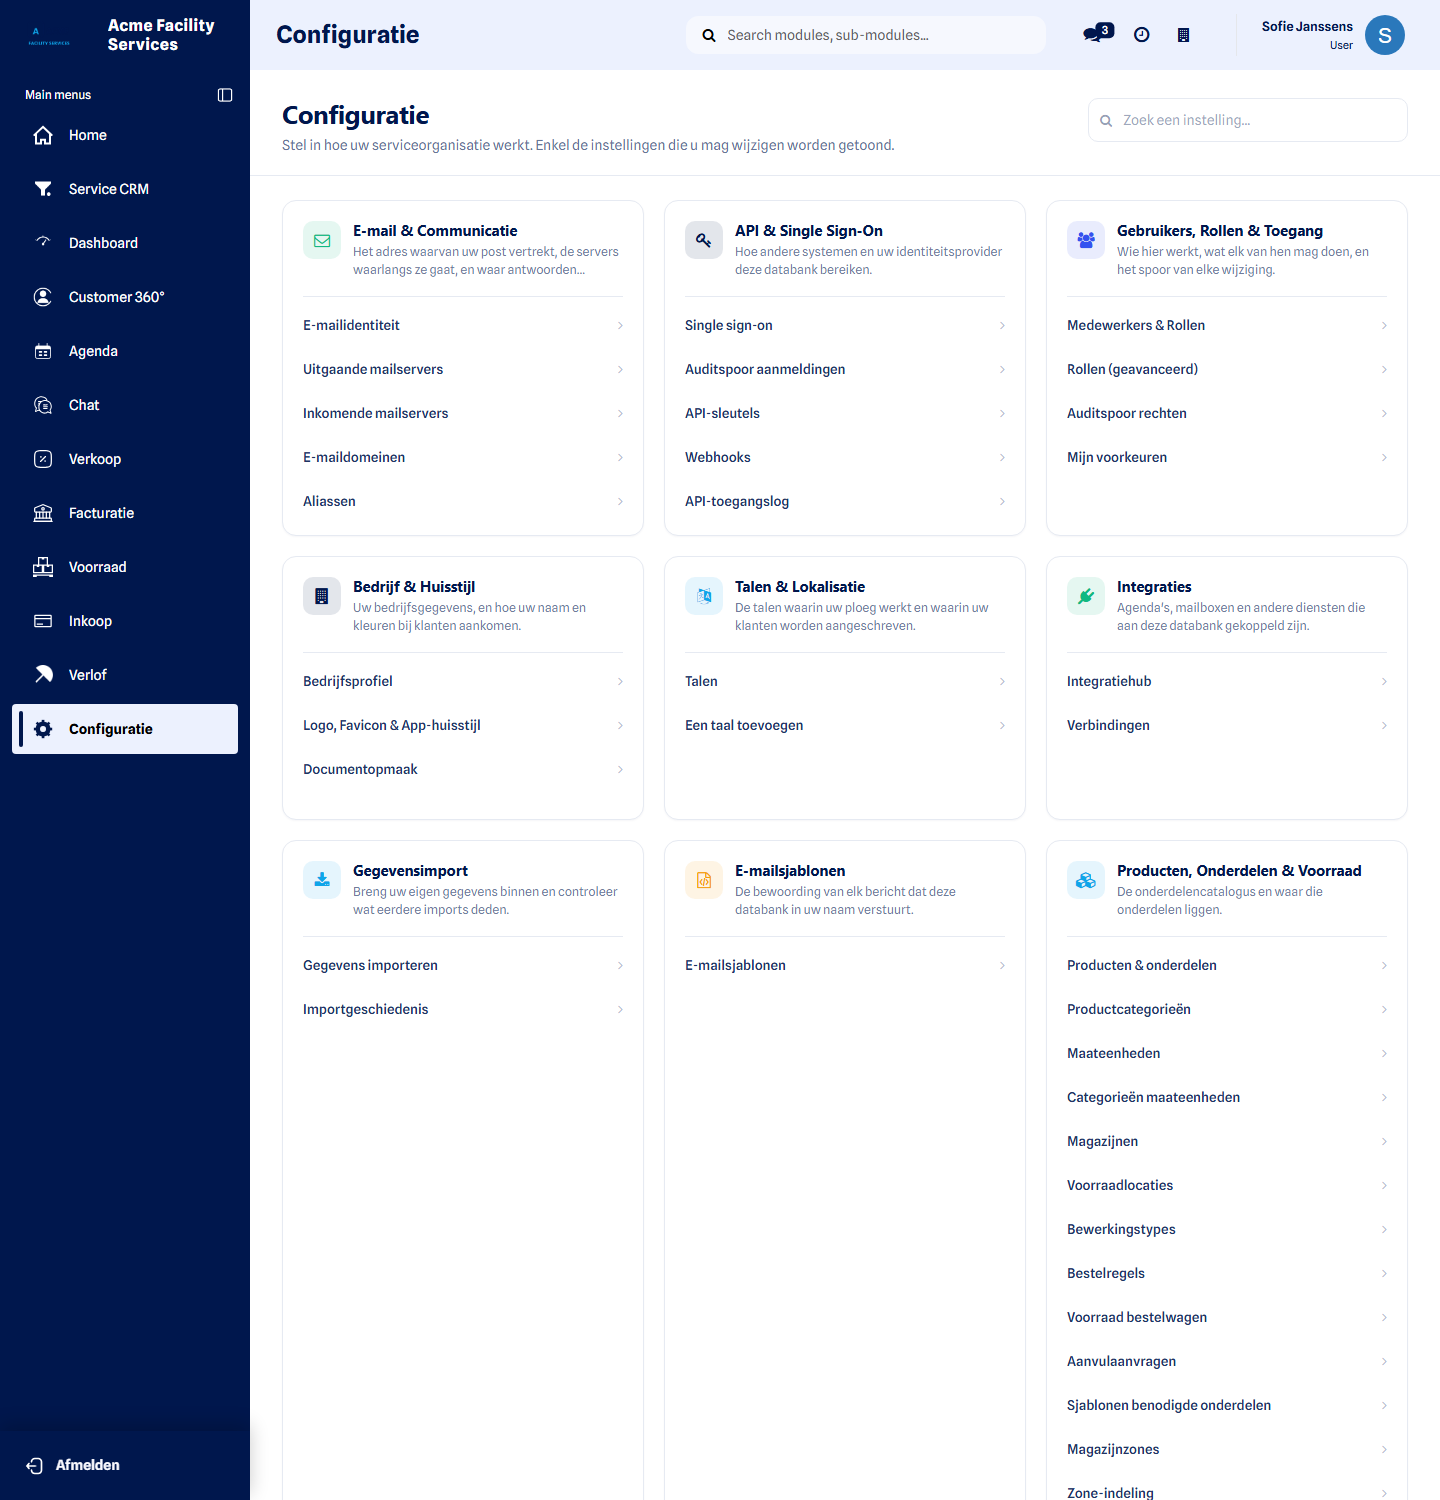 One page holding every setting you are allowed to change, grouped by subject.
What you set up here
Section titled “What you set up here”| Block | What it covers |
|---|---|
| Company & Branding | Company details, logo, favicon and document layout |
| Languages & Localisation | The languages your team works in and your customers read |
| Email & Communication | Sender, mail servers, email domains and aliases |
| Email Templates | The wording of everything you send automatically |
| Users, Roles & Access | Who works here and what each of them may do |
| Planning & Field Team | Techniekers, vans, routes, availability |
| Products, Parts & Stock | Catalogue, warehouses, van stock |
| Customers, Sites & Assets | Who you work for and where their equipment stands |
| Service & Operations | Types, stages, teams and billing rules |
| Safety | LMRA, PPE, checklists and risks |
| Templates & Documents | Every reusable template in one list |
| Maintenance & Contracts | Contracts and preventive schedules |
| Integrations | Calendars, mailboxes and other services |
| API & Single Sign-On | How other systems sign in and read your data |
| Data Import | Bring your existing data in |
The order that works
Section titled “The order that works”-
Company & Branding
Section titled “Company & Branding”Start here. Your company details and logo end up on every document, every email and the login page, so everything you set up afterwards builds on this.
Company Profile — name, address, company and VAT number, phone, email and currency.
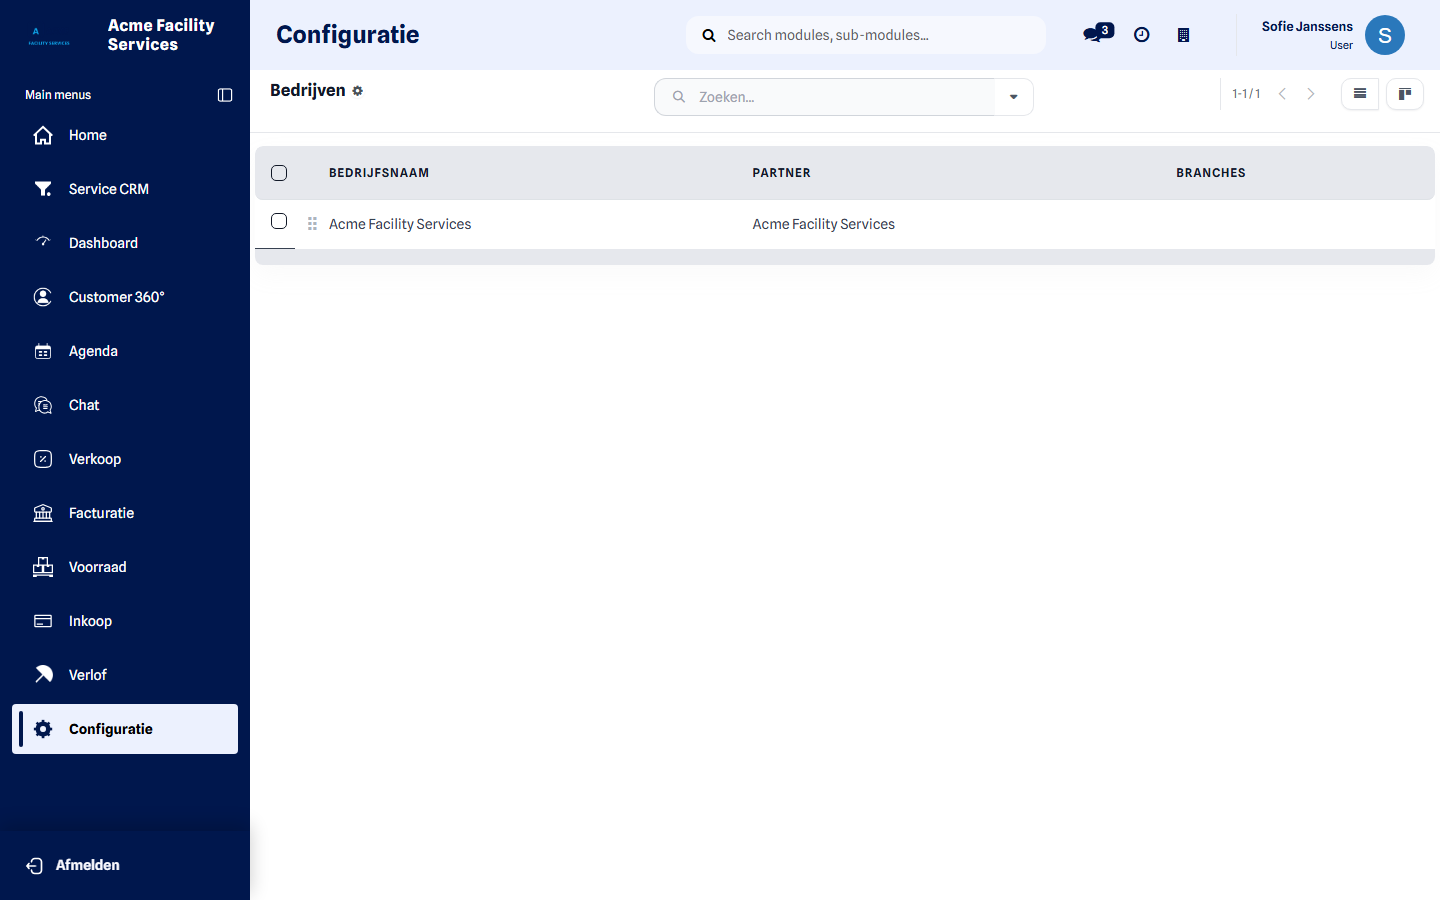
Logo, Favicon & App Branding — the logo shown on the login page and on your documents, the favicon in the browser tab, the colours of your notification emails, and the name and colours of the installable app on your team’s phones.
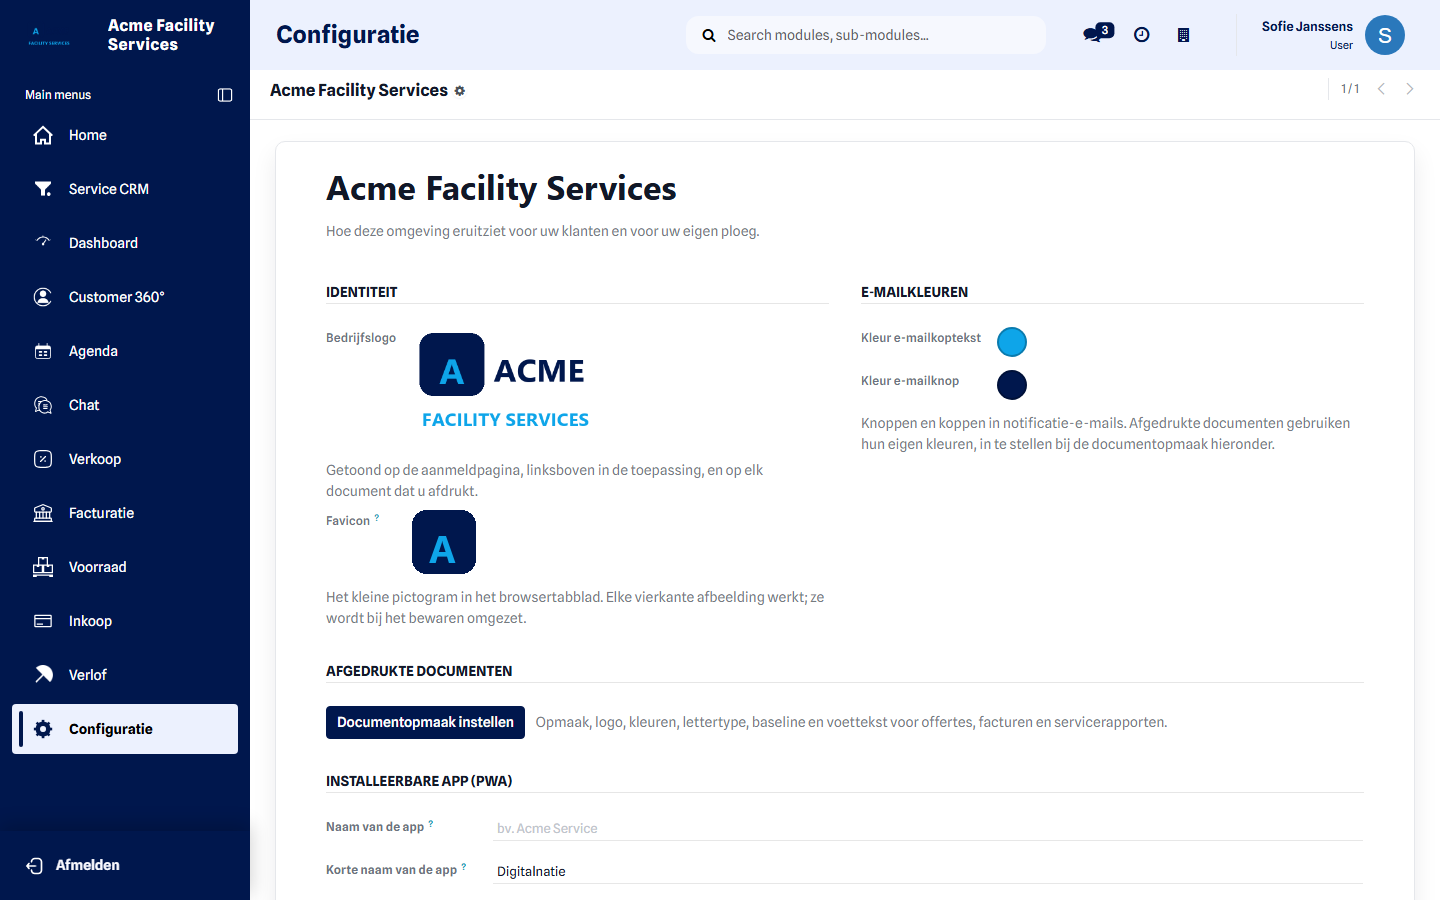
Document Layout — how quotations, invoices and service reports look: template, colours, font, tagline and footer, with a preview beside it.
-
Languages & Localisation
Section titled “Languages & Localisation”Switch on the languages your team works in and the ones you write to your customers in.
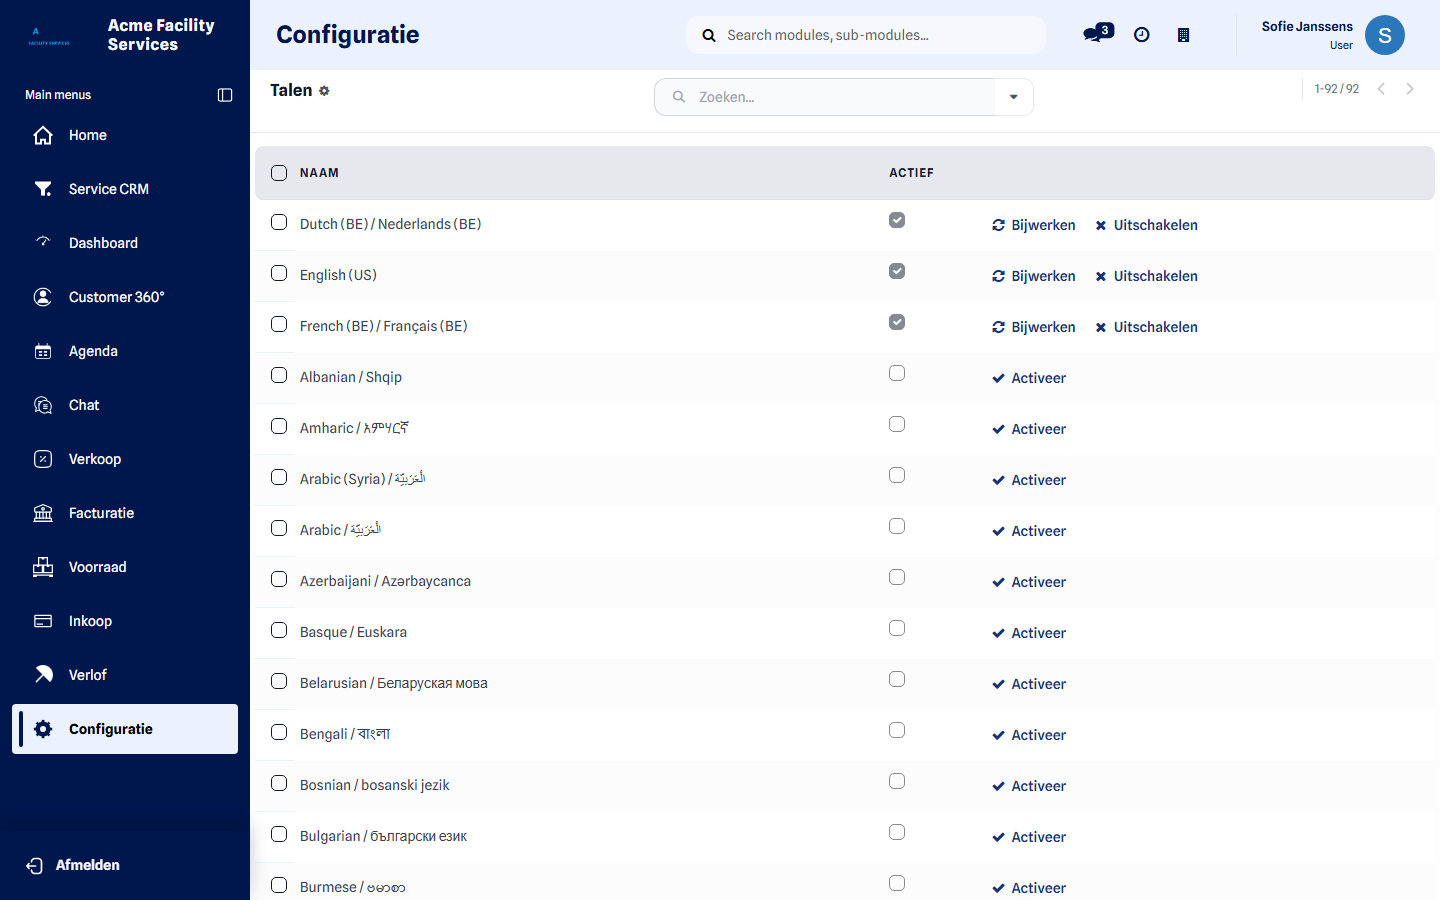
- Languages — activate or deactivate a language for the whole environment.
- Add a Language — loads a language that is not available yet.
Each colleague then picks their own working language under My Preferences, which is also where the time zone lives — that decides how schedules and appointments are displayed. For a customer, set the language on their record so quotations and reports go out in their language.
-
Email & Communication
Section titled “Email & Communication”This is where you decide who your customers see as the sender.
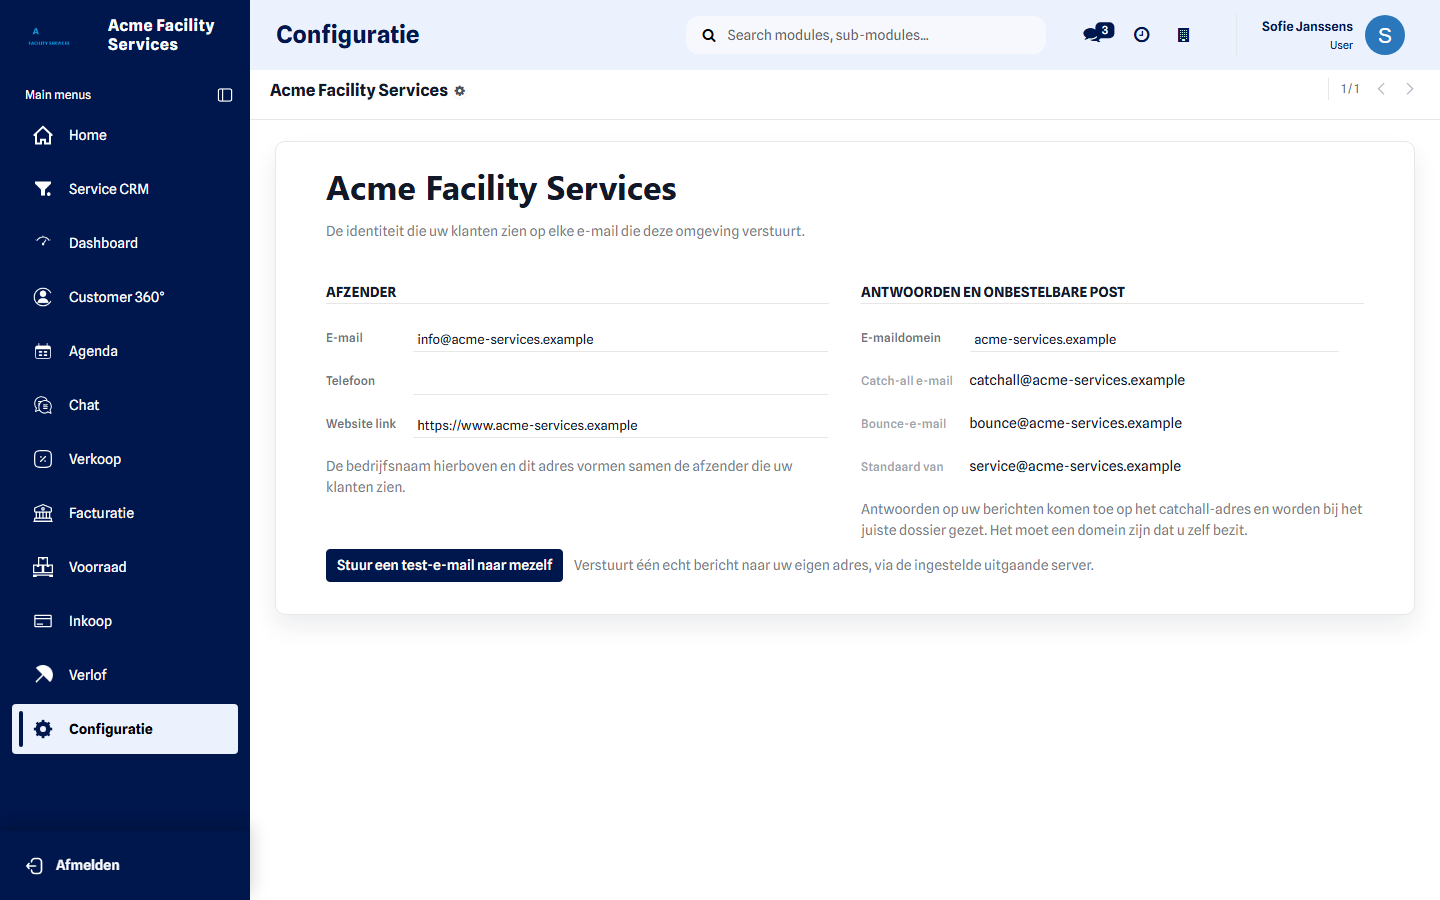
- Email Identity — the address your mail leaves from, and the email domain replies arrive on. The Send a test email to myself button confirms straight away that it works.
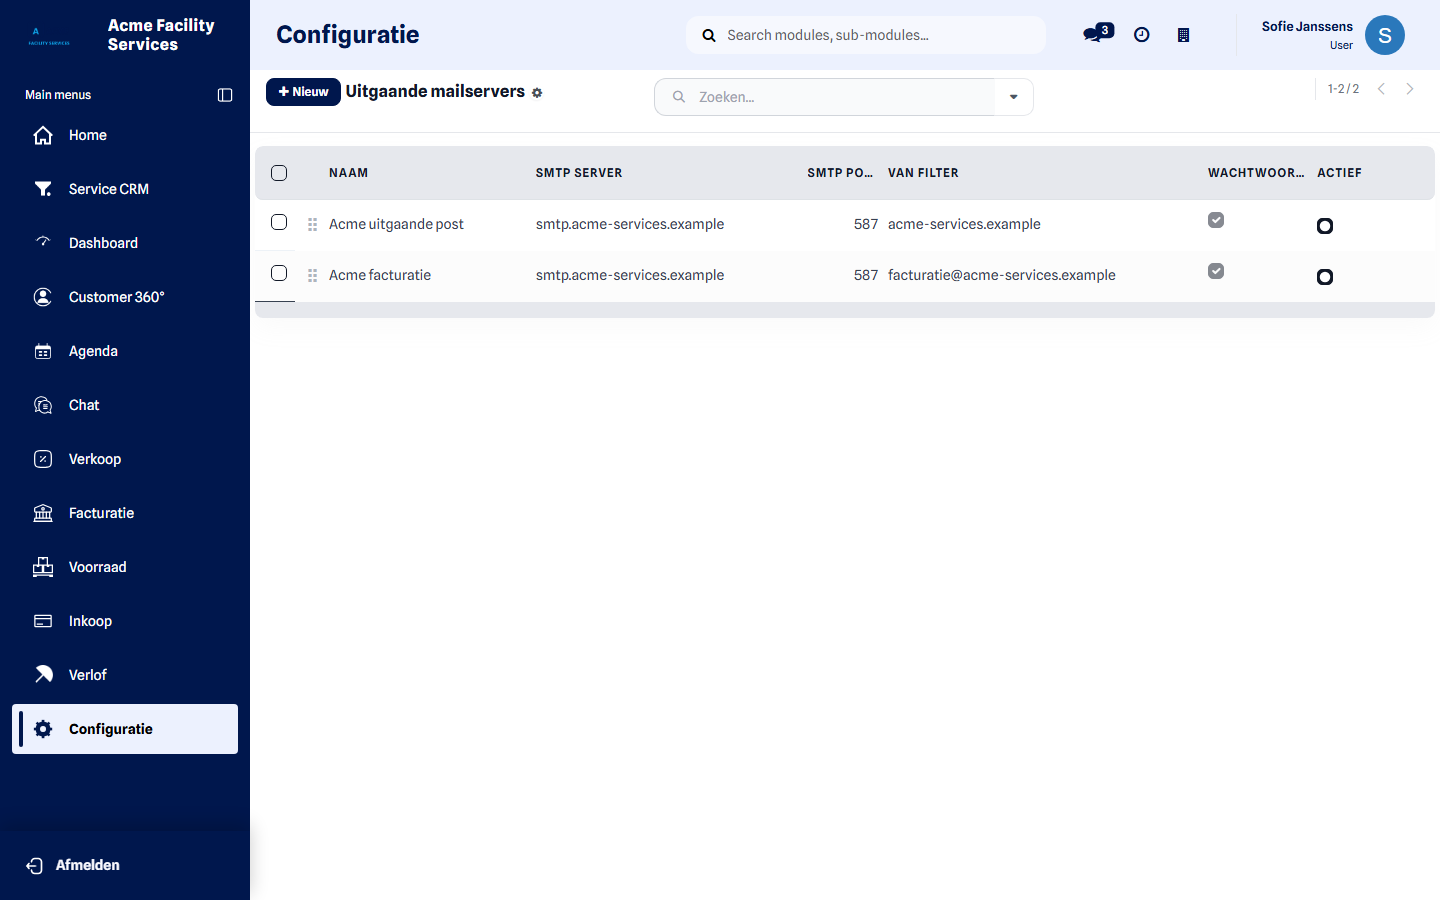
- Outgoing Mail Servers — the server that sends your mail.
- Incoming Mail Servers — a mailbox you have collected automatically, so customer replies land on the right record.
- Email Domains and Aliases — addresses such as
support@that turn a message into a record.
-
Email Templates
Section titled “Email Templates”Templates hold the wording of the messages your environment sends on your behalf. You change the text; the wiring underneath stays intact.
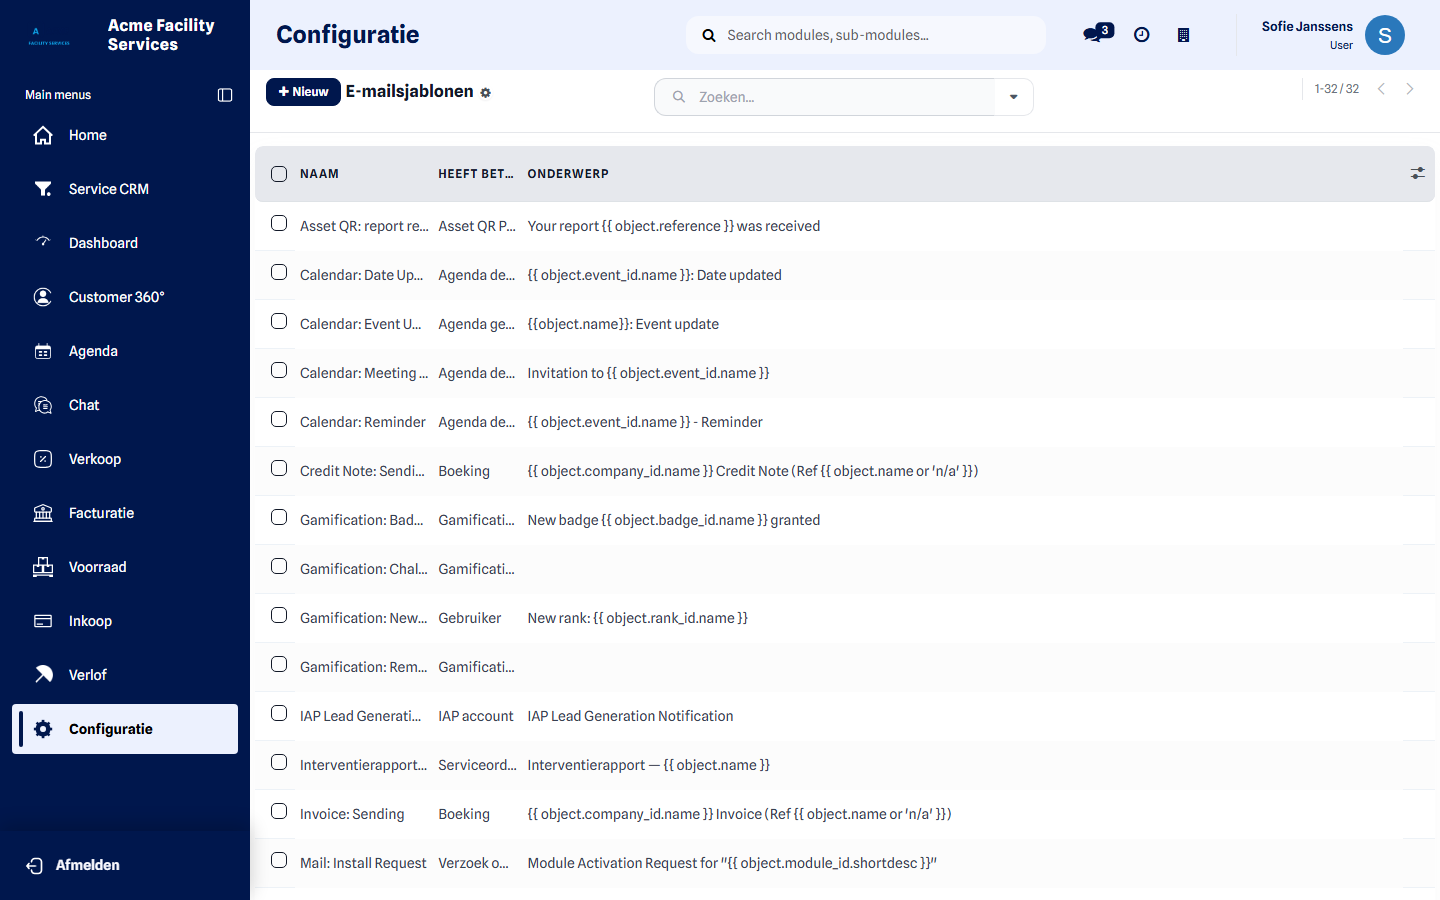
Available among others, depending on what is installed for you:
- Intervention report — the report sent after an intervention
- Send quotation and Order confirmation
- Send invoice and Payment receipt
- Report received via QR code
- New user invitation and Portal access
-
Users, Roles & Access
Section titled “Users, Roles & Access”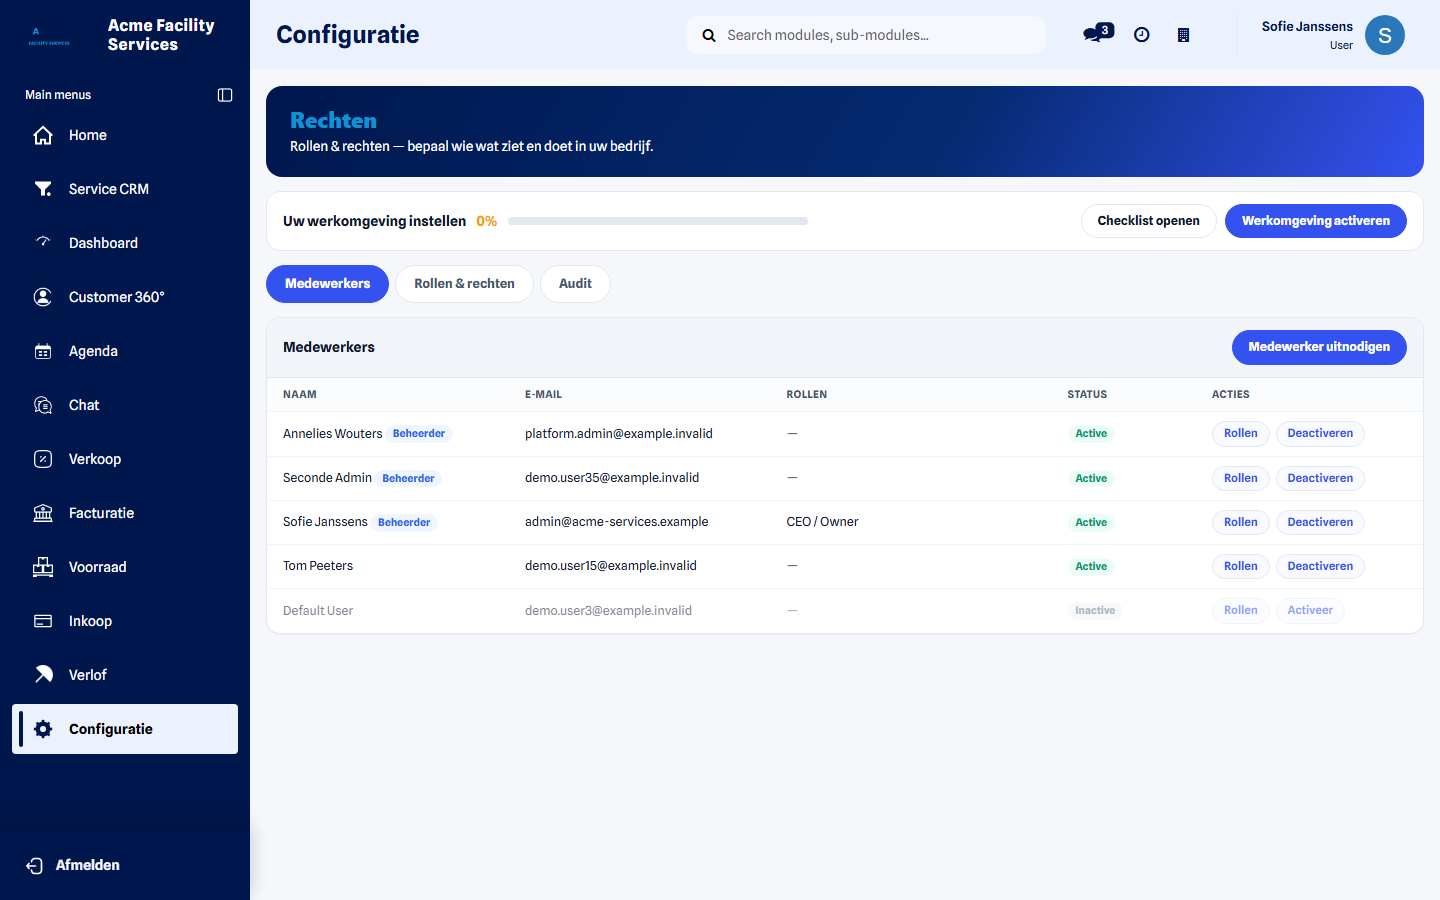
- Employees & Roles — invite colleagues, activate or deactivate accounts and assign roles.
- Roles (advanced) — adjust exactly what a role allows.
- Permission Audit Trail — who changed which rights, and when.
- My Preferences — your own language, time zone and signature.
Give everyone the fewest rights their job allows. A technieker does not need an administrator role to carry out interventions, and a warehouse manager has no reason to see invoices. That limits mistakes and keeps the audit trail readable.
Read more: Permissions and roles.
-
Planning & Field Team
Section titled “Planning & Field Team”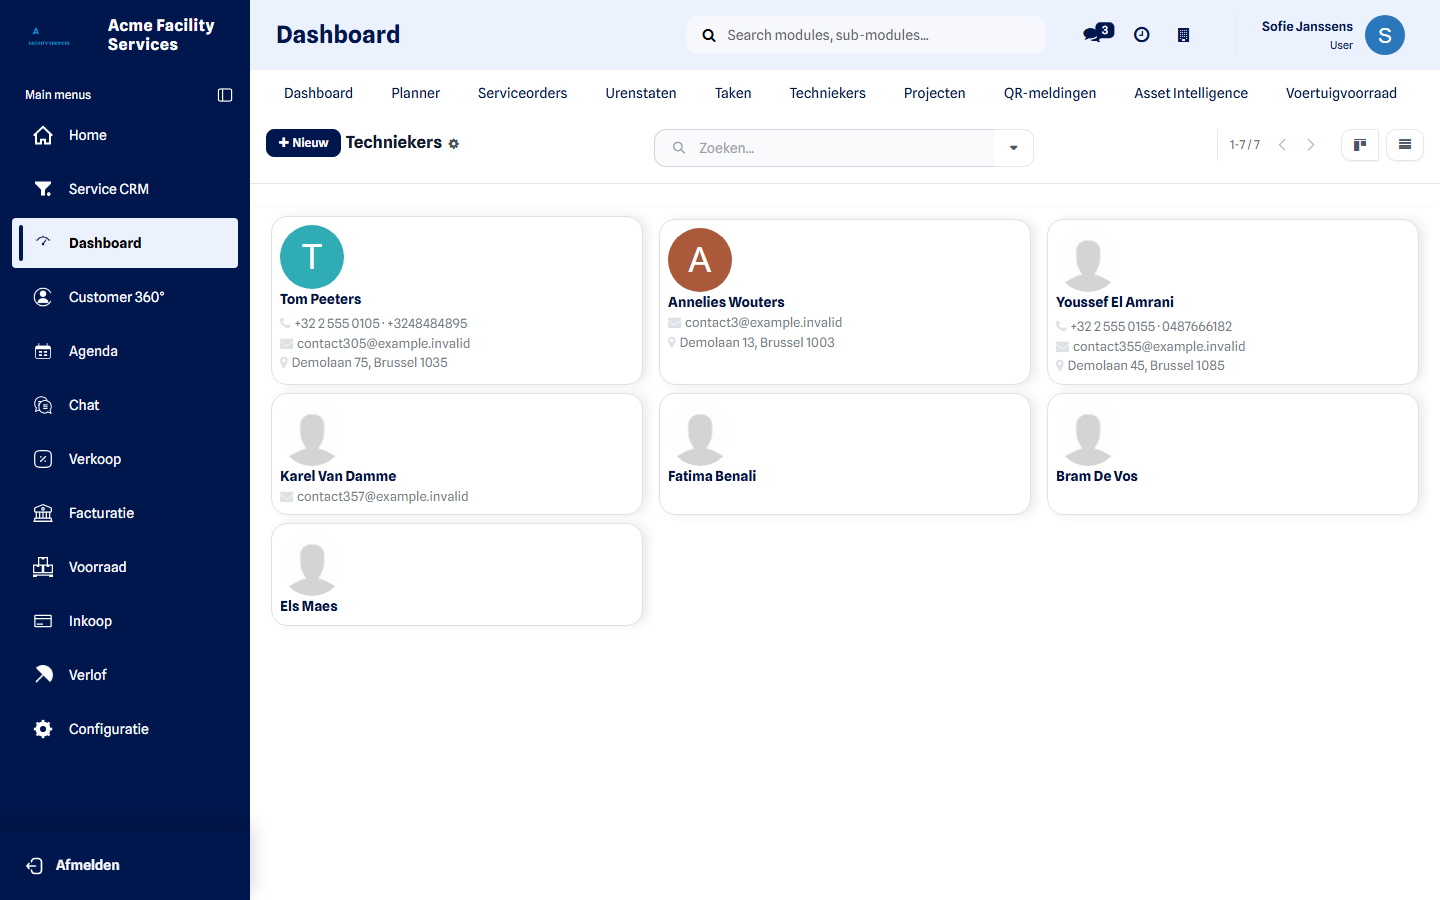
Build your team: techniekers, vans & vehicles, routes, day routes and route days, plus skill types and technieker skills. With blackout days, blackout groups, peak days and time windows you set when planning is allowed at all.
Read more: Techniekers · Vehicles · Routes · Time off
-
Products, Parts & Stock
Section titled “Products, Parts & Stock”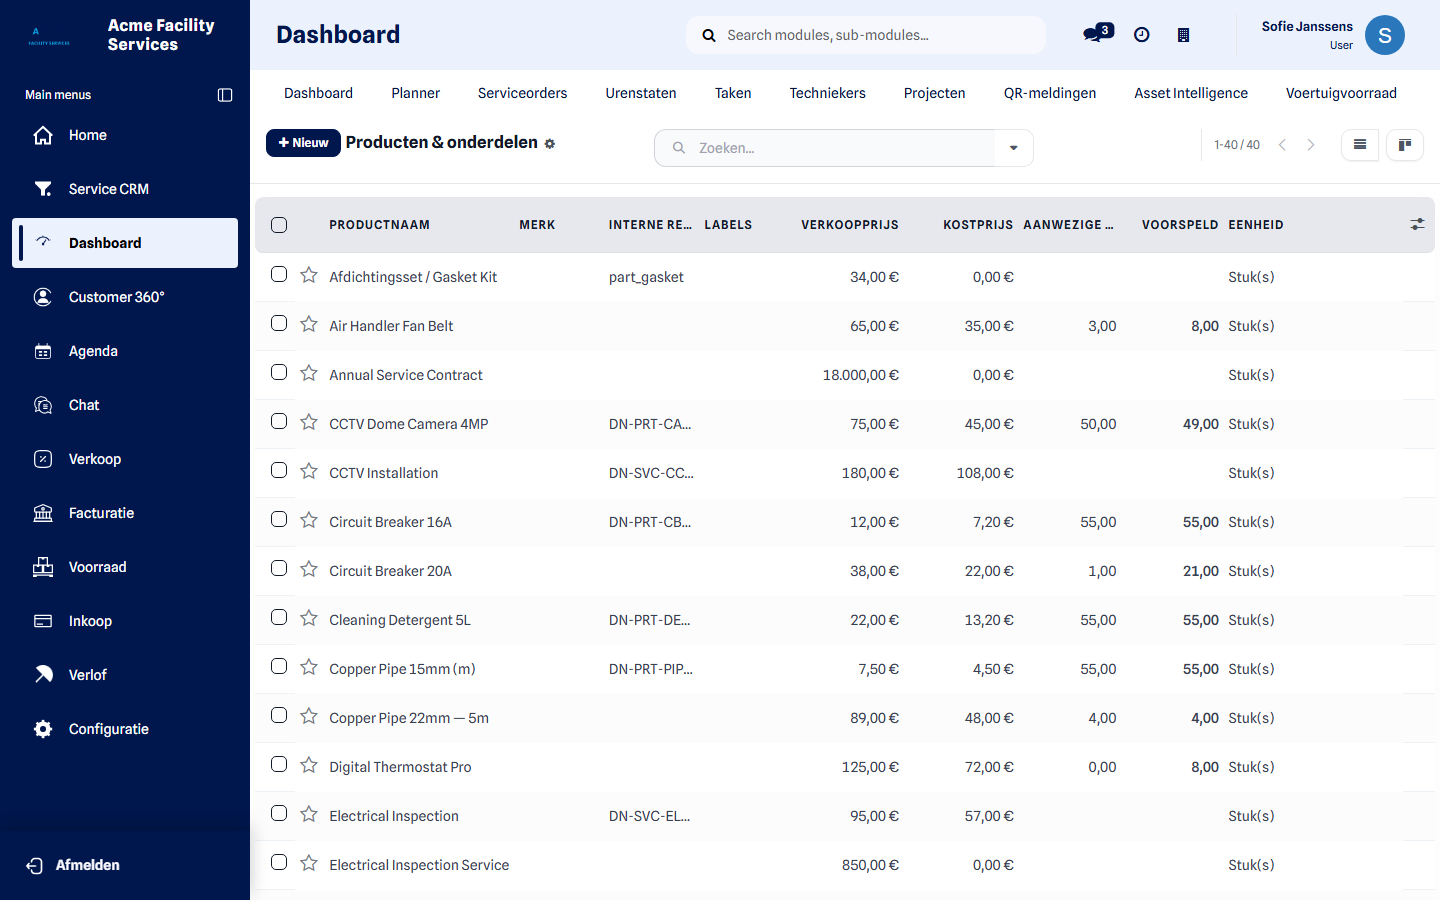
The catalogue and where the parts are kept: products & parts, product categories, units of measure, warehouses, stock locations, operation types and reordering rules. Plus van stock, replenishment requests, required parts templates, warehouse zones and the zone layout.
Read more: Products & parts · Stock · Van stock · Required parts · Warehouse map
-
Customers, Sites & Assets
Section titled “Customers, Sites & Assets”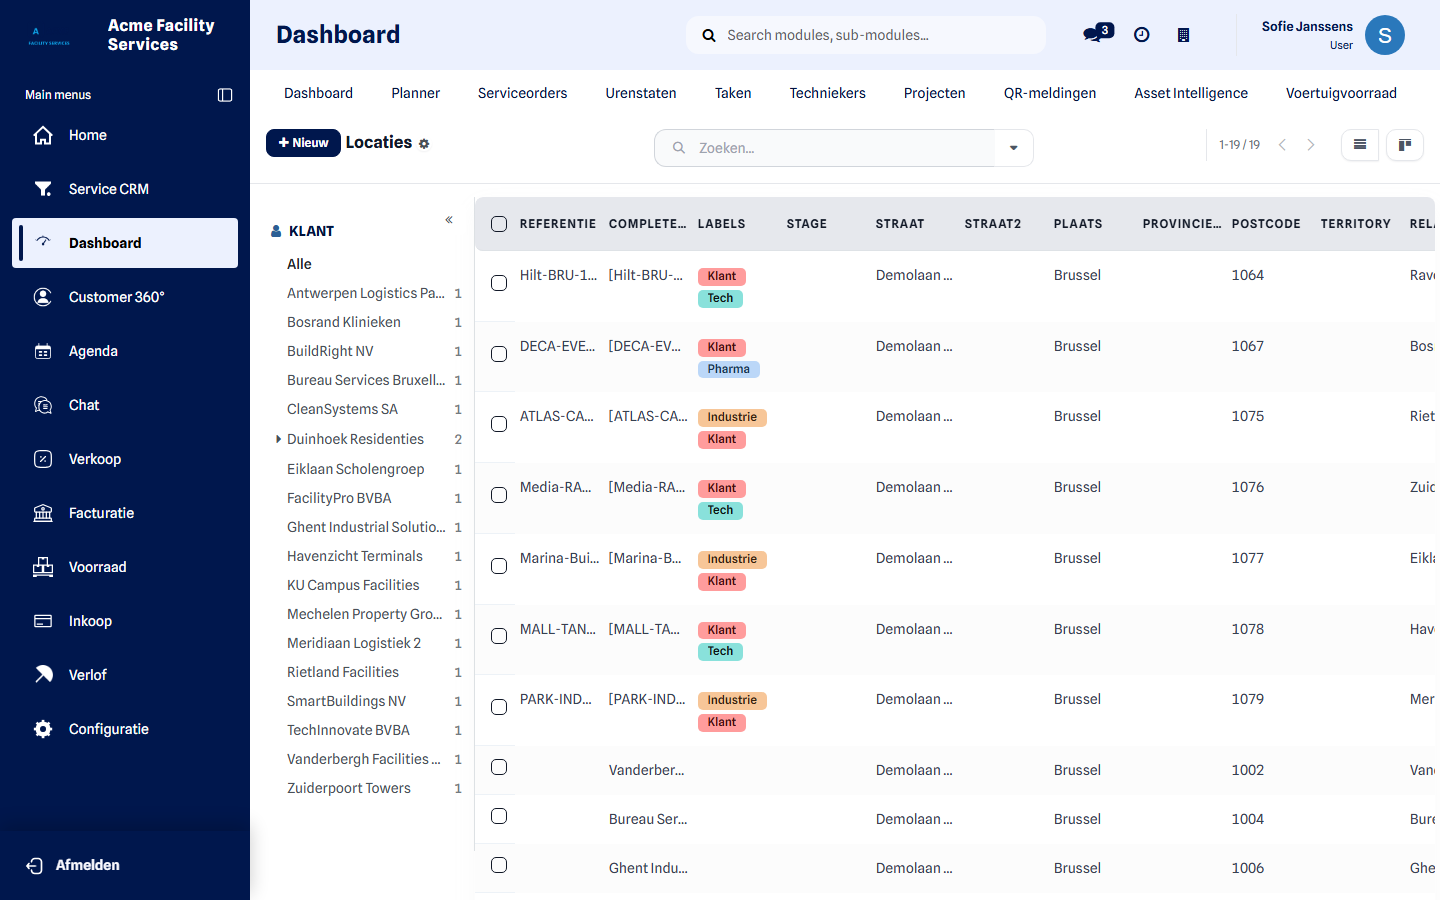
Who you work for and where their equipment stands: customers, contacts, sites & locations, site techniekers, assets, asset stages, equipment, asset health rules, service regions and QR codes & requests.
Read more: Customers & assets · Sites and locations · Equipment · Customer 360° · QR codes · Asset health
-
Service & Operations
Section titled “Service & Operations”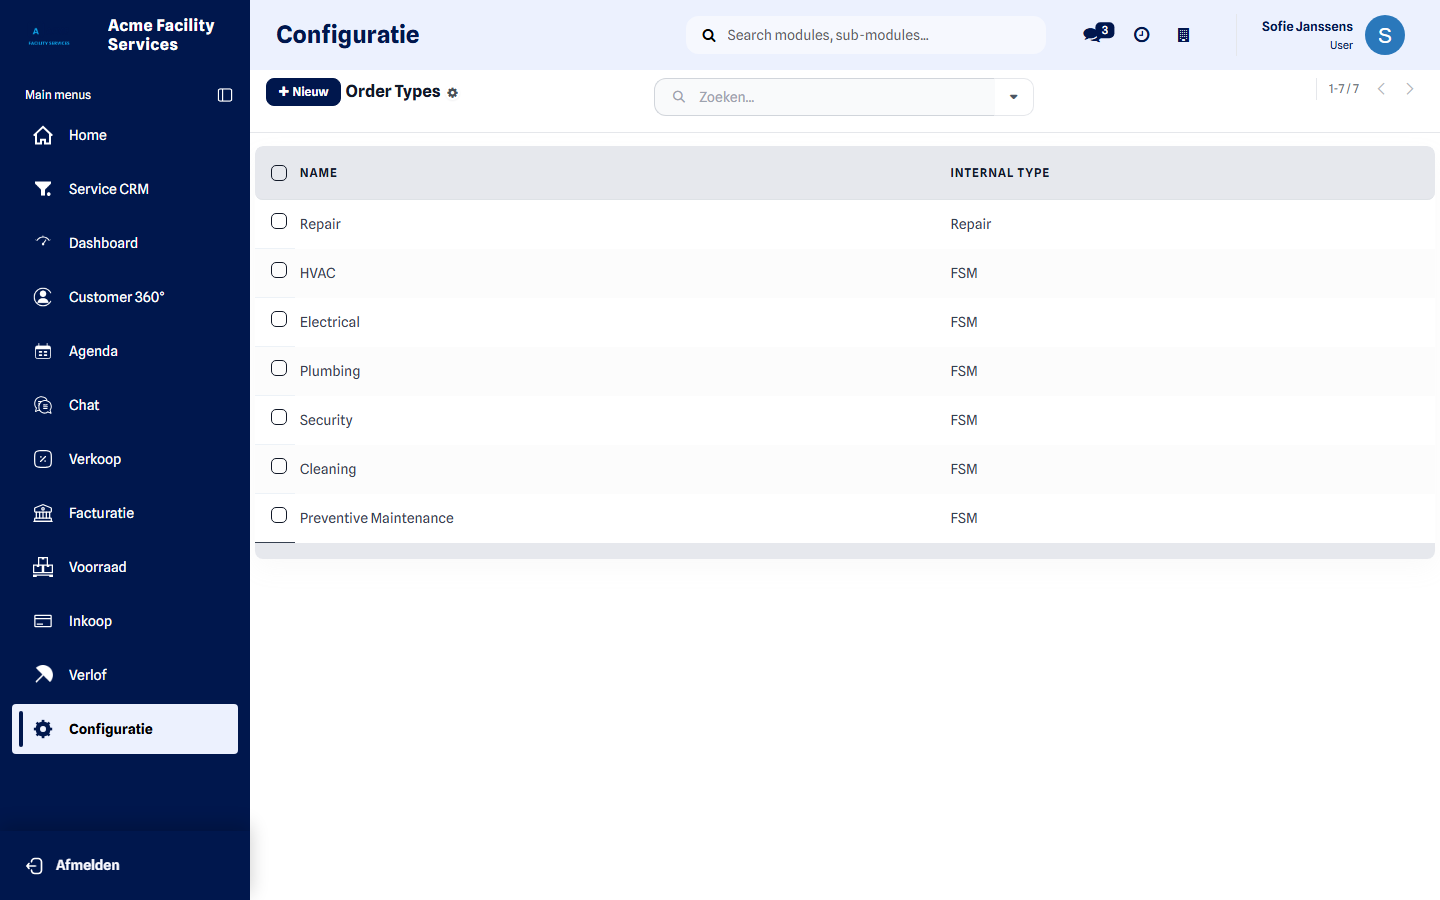
How interventions are classified and followed up: service order types, stages, service teams, technieker categories, tags, order templates, task types and the billing rules.
Read more: Service orders · Planning
-
Safety
Section titled “Safety”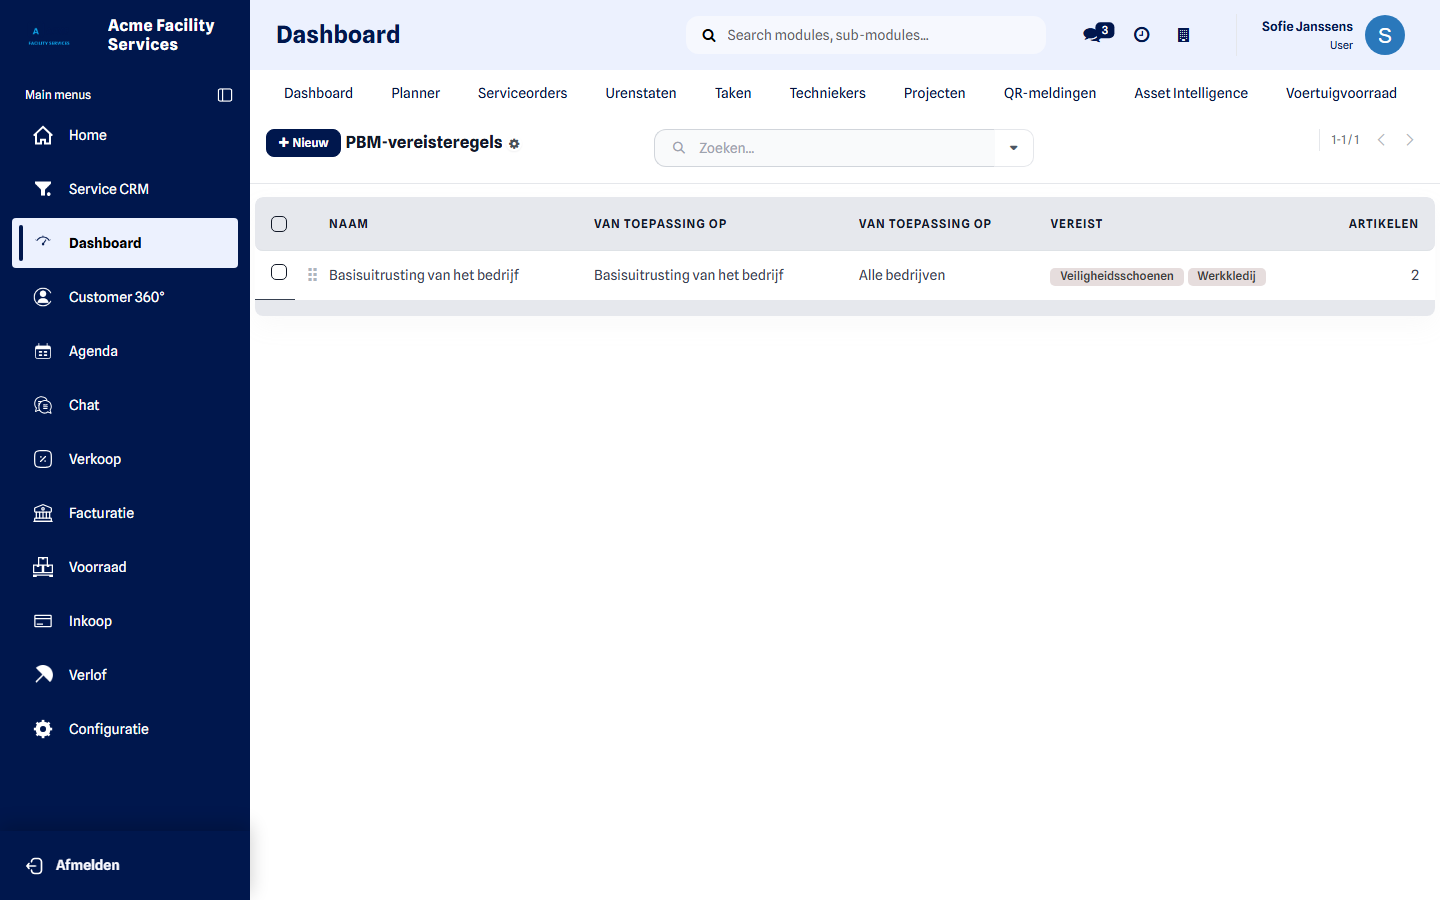
LMRA templates, hazards, PPE catalogue, PPE rules, checklist templates, risk register, risk rules and site environments.
Read more: LMRA · PPE · Quality & risks
-
Templates & Documents
Section titled “Templates & Documents”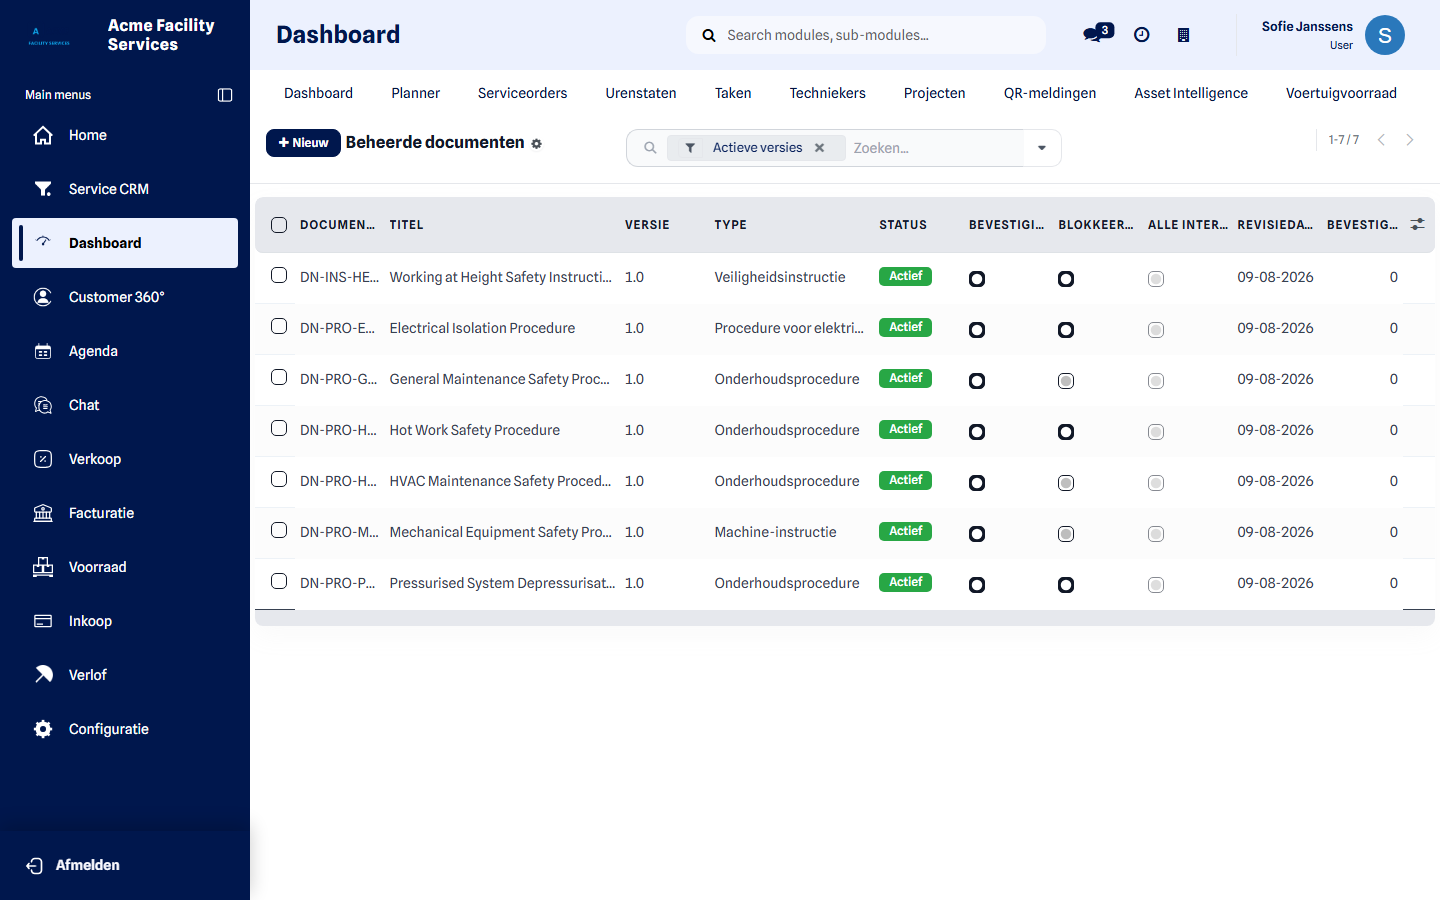
Every reusable template in one list: order templates, preventive maintenance templates, required parts templates, LMRA templates, checklist templates and controlled documents.
This block deliberately repeats links from the other blocks — it is where you find them when you think “where was that template again?”.
-
Maintenance & Contracts
Section titled “Maintenance & Contracts”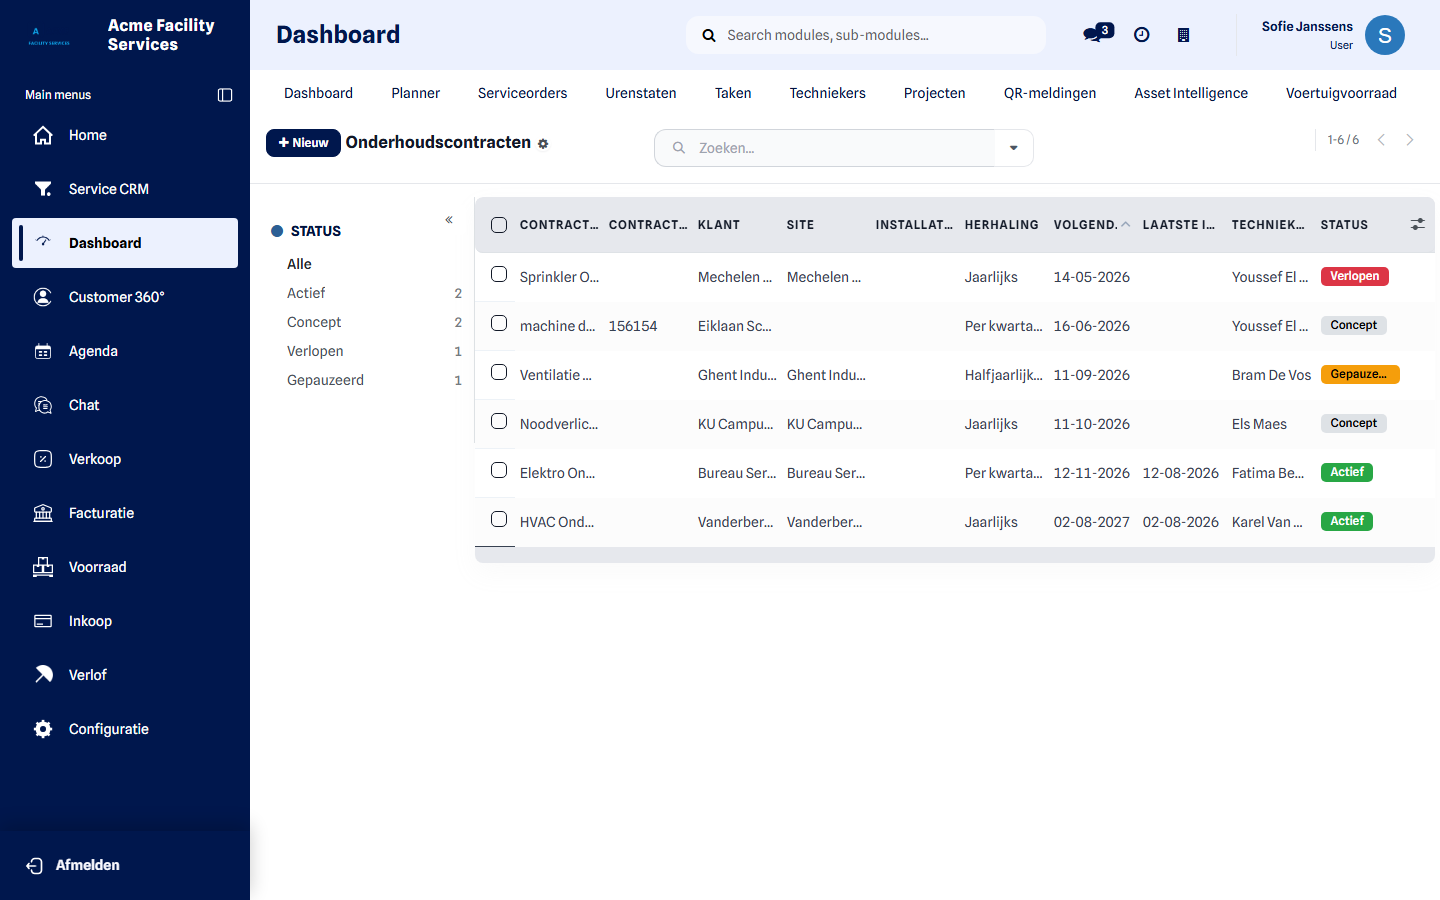
Maintenance contracts and contract types, plus the schedules that generate preventive work: maintenance frequencies, frequency rule sets and preventive maintenance templates.
Read more: Maintenance contracts
-
Integrations
Section titled “Integrations”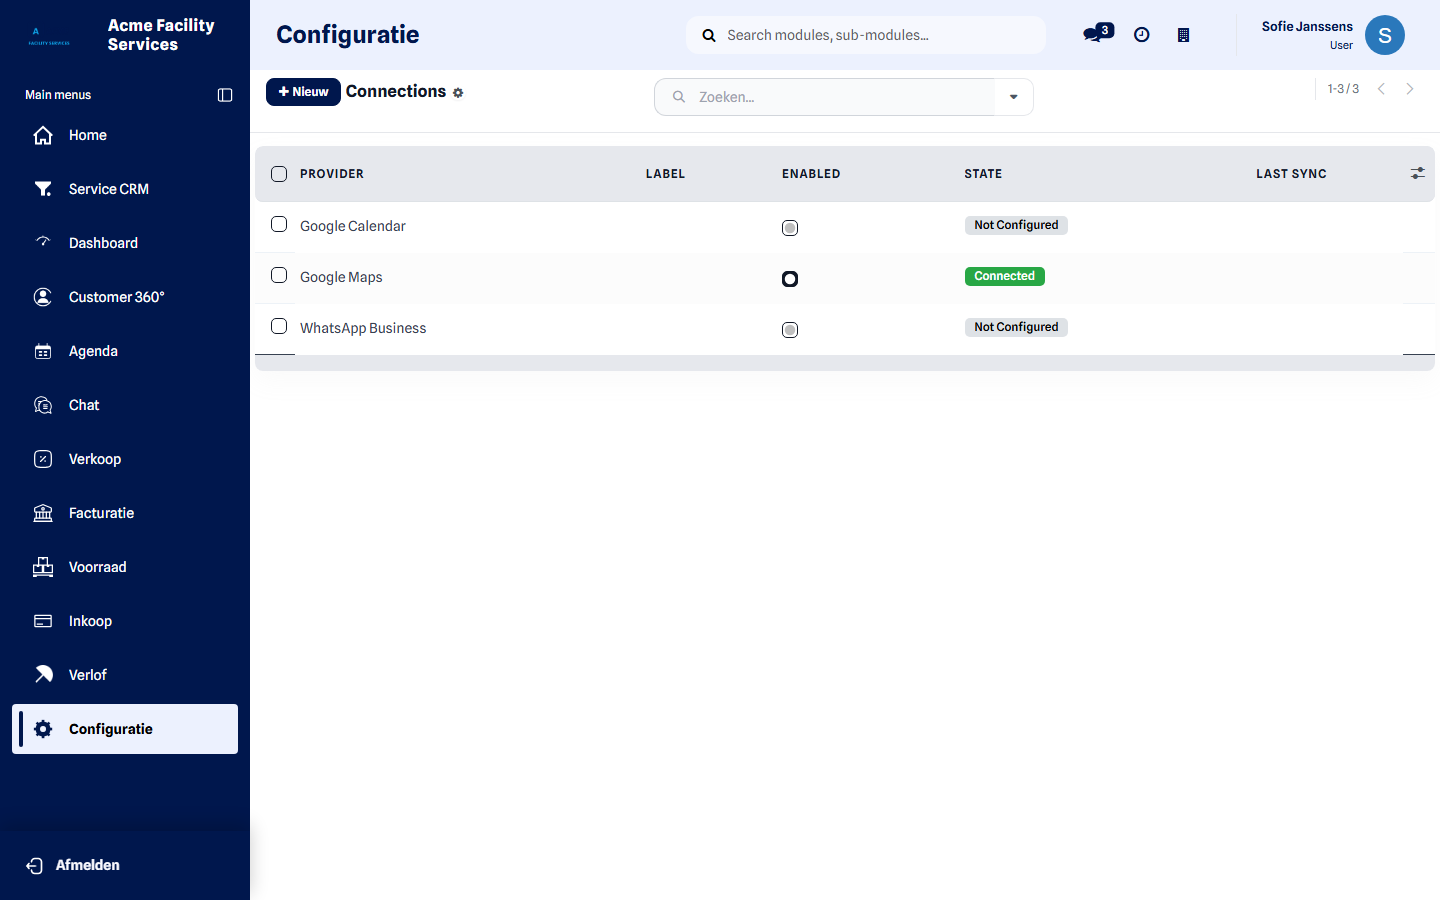
Integration hub, connections and providers: calendars, mailboxes and other services you connect to your environment. Per connection you see whether it is connected and when it last synchronised.
Read more: Integrations
-
API & Single Sign-On
Section titled “API & Single Sign-On”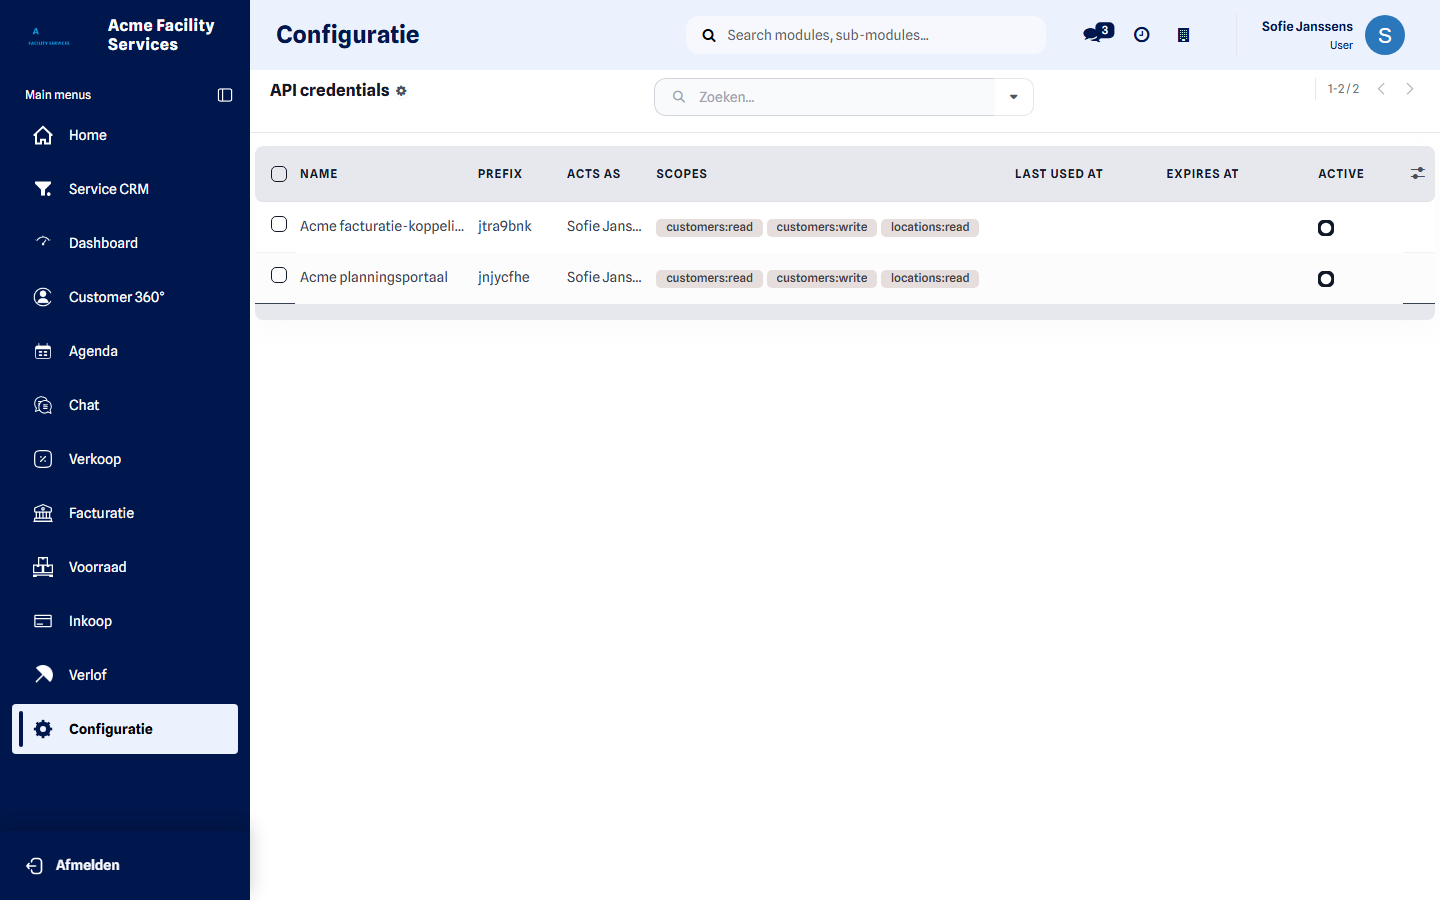
Single sign-on and its audit trail, plus API credentials, webhooks and the API access log.
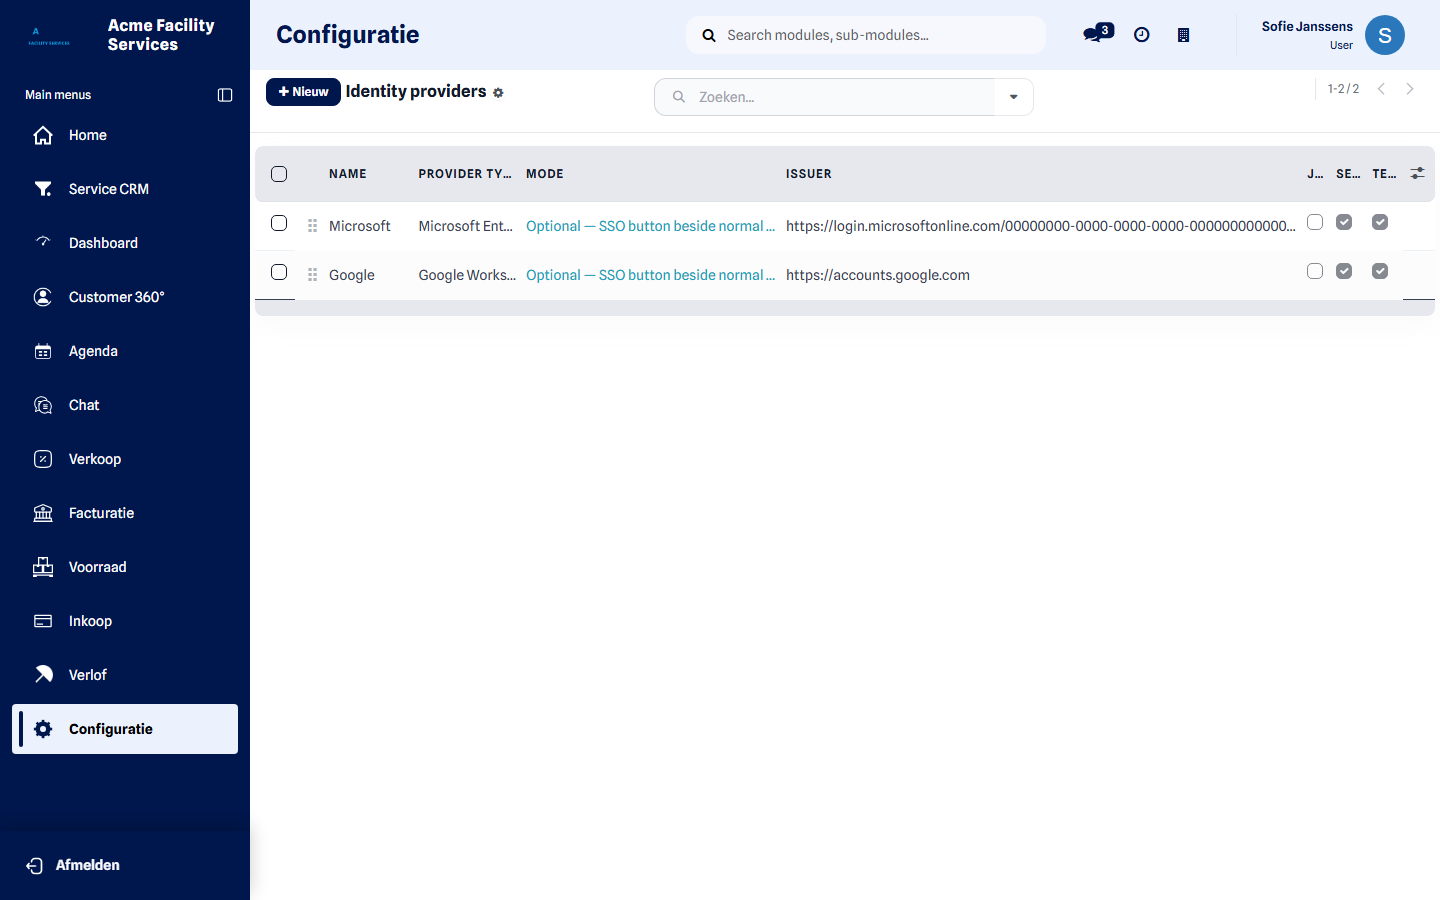
Read more: Single sign-on · API
-
Data Import
Section titled “Data Import”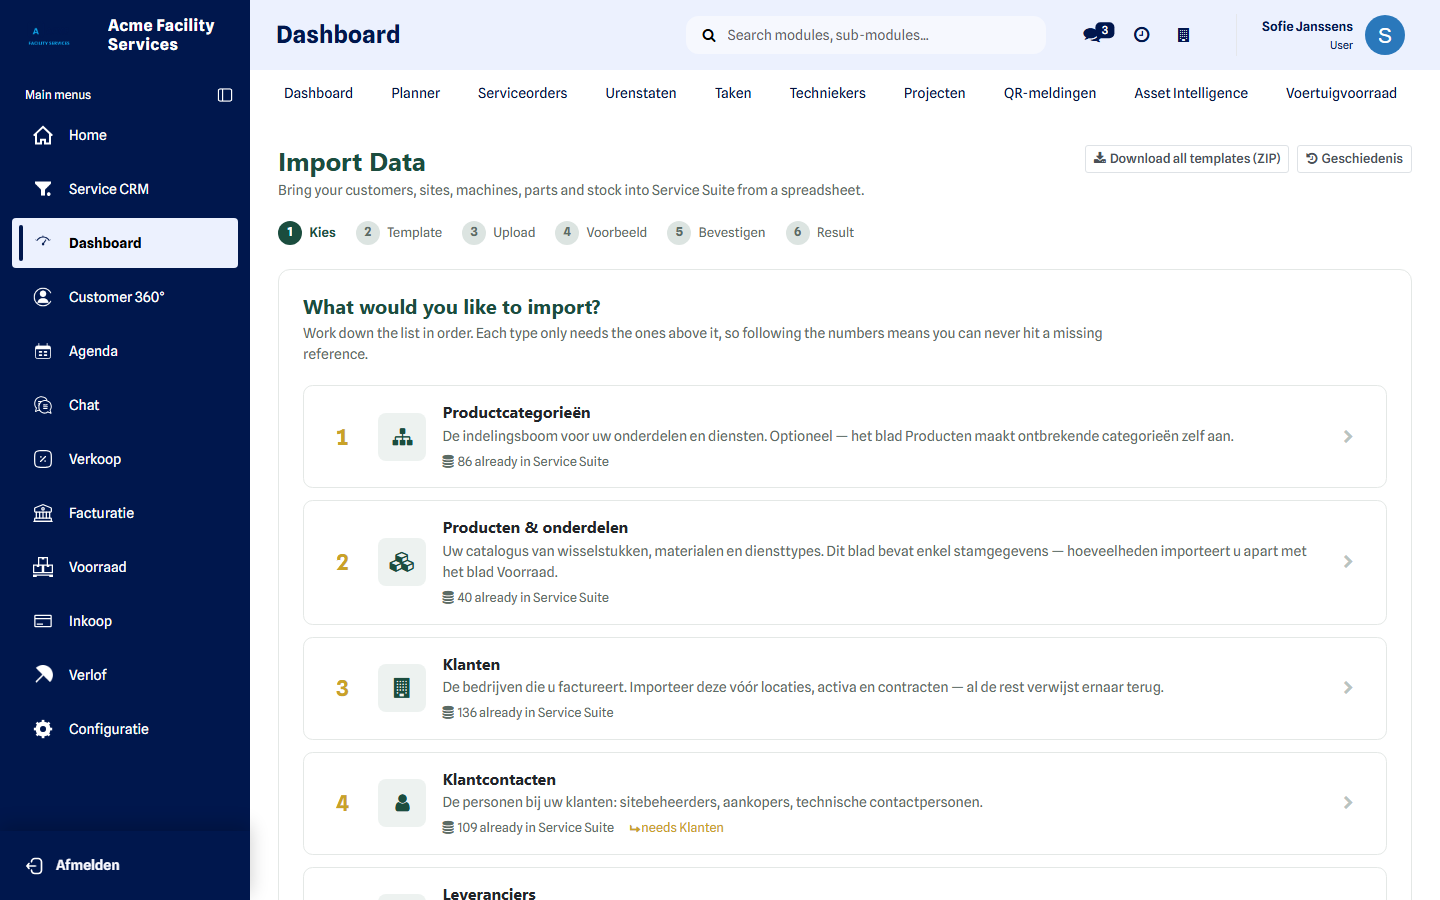
Bring in your existing customers, sites, assets and parts. The import shows a preview first, validates your file, reports duplicates and only runs once you confirm. Import history shows what every earlier import did.
Read more: Import data
How this follows on from onboarding
Section titled “How this follows on from onboarding”Onboarding prepares your environment and fills in the first company details. Configuration is what you take over afterwards:
Onboarding → company createdConfiguration → branding and languages → email and templates → users and roles → planning and team → products, customers, safety → connectionsGo-liveConfiguration stays available afterwards. Nothing has to be finished in one go: steps 1 to 5 are enough to start, and you fill in the rest as you take the environment into use.
Something you expected is not there?
Section titled “Something you expected is not there?”Three possible reasons, in order of likelihood:
- You do not have the right. Ask your administrator for the correct role.
- The feature is not active for you. Blocks only appear when the matching feature is present.
- It is not a setting but daily work. Interventions, quotations and invoices live in their own app, not here.
Next step
Section titled “Next step”Environment ready? Continue with Service orders to create your first intervention.